Sweet potatoes (Ipomoea batatas) are nutrient-rich tuberous root vegetables prized for their natural sweetness, versatility in cooking, and high nutritional value. Packed with vitamins A and C, dietary fiber, and antioxidants, sweet potatoes provide numerous health benefits, including boosting immunity, promoting healthy digestion, and supporting eye health. Growing sweet potatoes at home is an excellent way to ensure fresh, chemical-free produce while also engaging in rewarding gardening practices.
This comprehensive guide provides a step-by-step approach to planting sweet potatoes at home, covering soil preparation, planting techniques, care, pest management, and harvesting practices.
Why Grow Sweet Potatoes at Home?
Home cultivation of sweet potatoes offers multiple advantages:

- Fresh and Nutritious Produce: Enjoy pesticide-free tubers right from your garden.
- Cost-Effective: Reduces grocery expenses and dependence on store-bought vegetables.
- Sustainable Gardening: Encourages organic practices and efficient use of space.
- Gardening Education: Ideal for beginners and children learning about plant growth cycles.
- Versatile Growth: Can be grown in garden beds, raised beds, or even large containers.
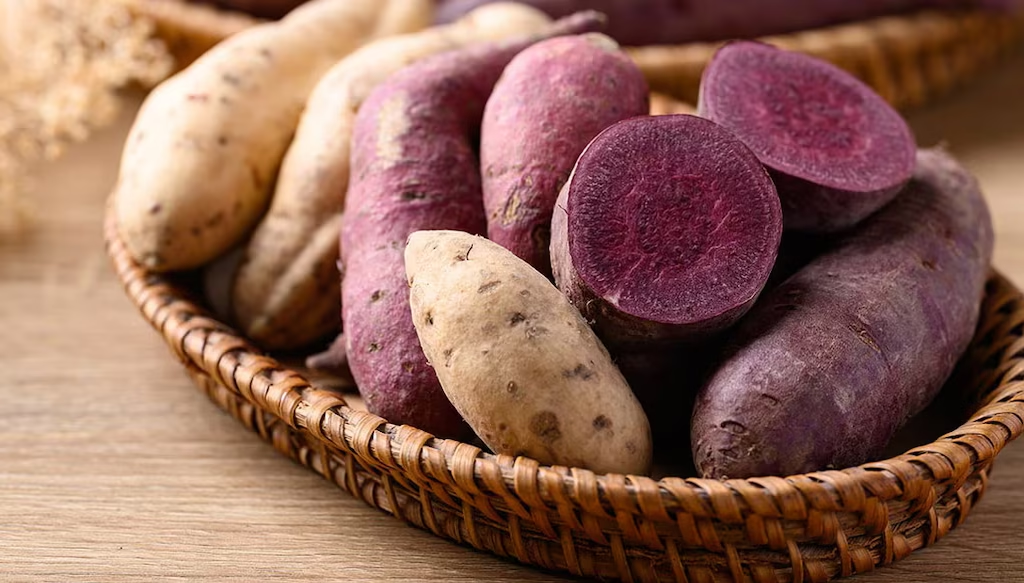
Selecting the Right Sweet Potato Variety
Sweet potatoes come in diverse varieties, differing in skin color, flesh color, taste, and growth habit. Selecting the right variety ensures better adaptation to your home garden conditions:
- Beauregard: Popular orange-fleshed variety with sweet taste; high yield.
- Jewel: Bright orange flesh; resistant to pests and adaptable to home gardens.
- White or Japanese Sweet Potato: Creamy white flesh, slightly less sweet; excellent for baking.
- Purple Sweet Potato: Deep purple flesh rich in antioxidants; visually striking.
For container gardening, choose compact or early-maturing varieties, while sprawling varieties are suitable for open garden beds.
Choosing a Planting Site
Sweet potatoes require full sunlight and well-drained soil for optimal growth:

- Sunlight: At least 6–8 hours of direct sunlight per day.
- Soil Type: Loose, sandy loam or well-drained garden soil. Avoid heavy clay soils, which can hinder tuber development.
- Soil pH: Slightly acidic to neutral (5.8–6.5).
- Space Requirements: For garden beds, maintain 12–18 inches between plants and 3–4 feet between rows. For containers, use large pots at least 18 inches wide and deep.
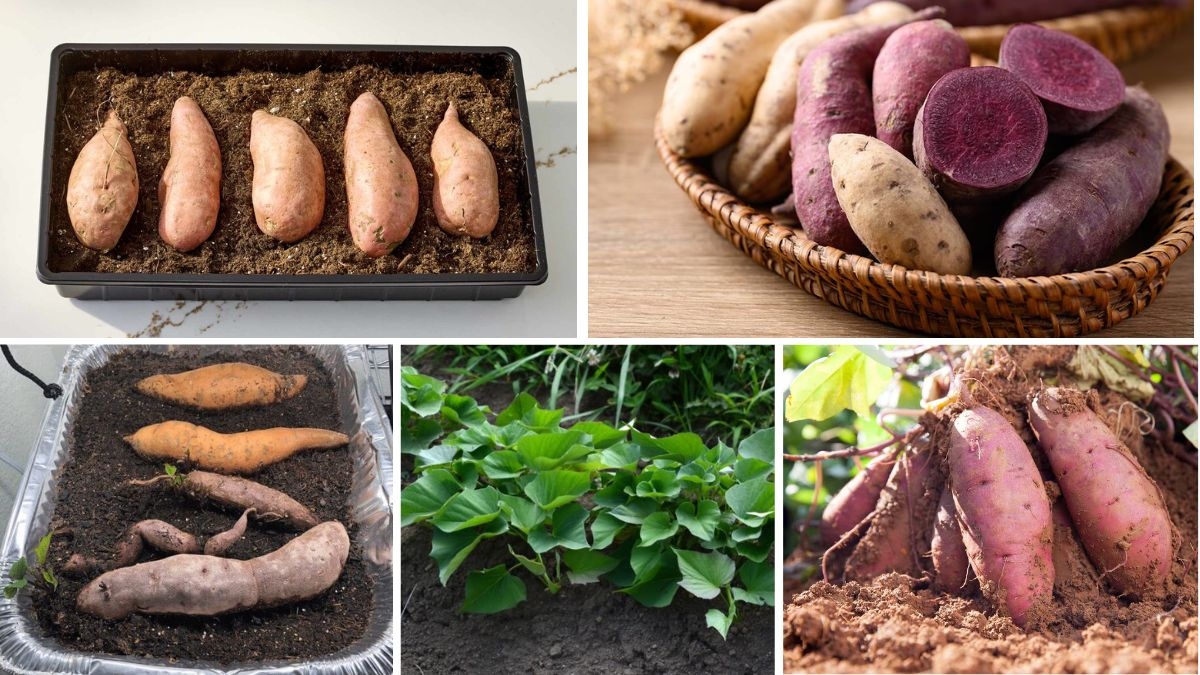
Preparing Sweet Potato Slips
Sweet potatoes are propagated through slips (sprouts from mature tubers) rather than seeds:
Step 1: Selecting Healthy Tubers
- Choose disease-free, mature sweet potatoes with firm flesh.
- Avoid bruised or damaged tubers.
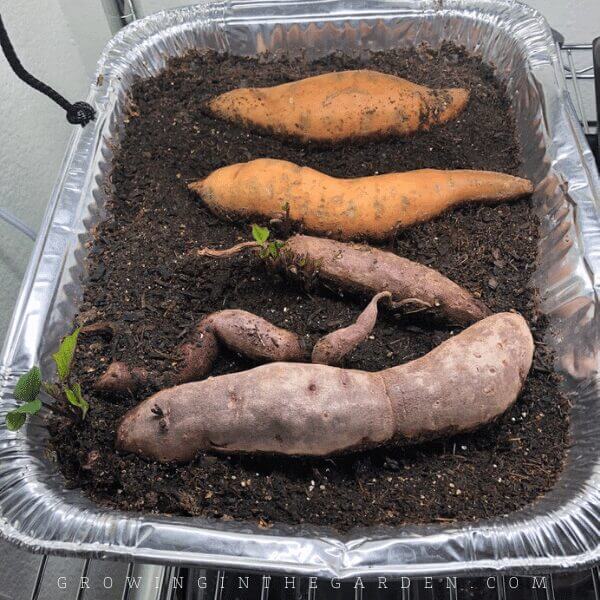
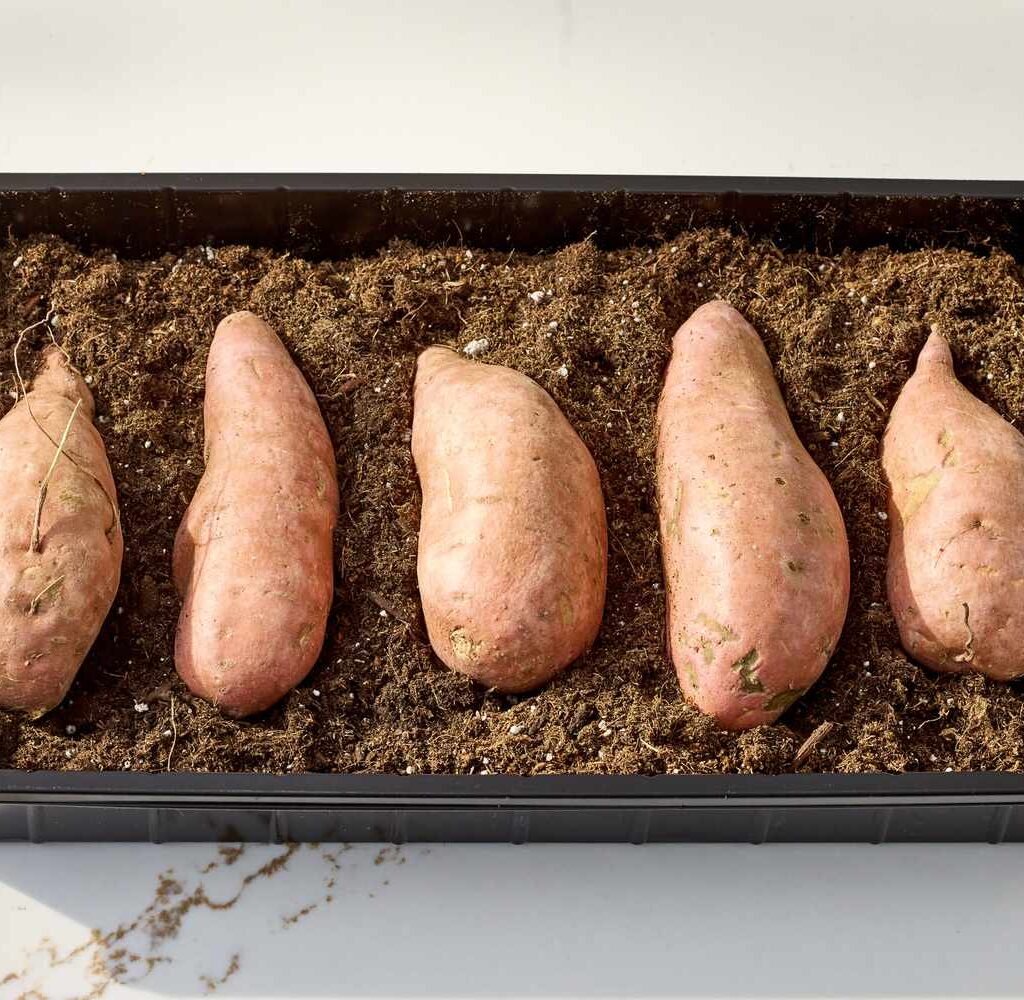
Step 2: Sprouting Slips
- Place tubers in a shallow container with water or a moist sand/soil medium.
- Submerge the bottom half in water or cover with moist soil.
- Maintain warmth (21–27°C / 70–80°F) to encourage sprouting.
- Slips emerge in 2–4 weeks.
Step 3: Separating Slips
- When slips reach 6–8 inches, gently twist or cut them from the tuber.
- Remove lower leaves and allow slips to develop roots in water or moist soil for 1–2 weeks before planting.
Soil Preparation and Bed Setup
Proper soil preparation ensures healthy growth and abundant tuber production:
- Clear the Area: Remove weeds, stones, and debris.
- Loosen the Soil: Use a garden fork or tiller to break up compacted soil.
- Amend the Soil: Incorporate organic compost or well-rotted manure to improve fertility and drainage.
- Create Mounds or Rows: Form 6–8 inch high mounds or ridges to facilitate tuber expansion and prevent waterlogging.
For containers, fill with a well-draining mix of garden soil, sand, and compost in a 2:1:1 ratio.

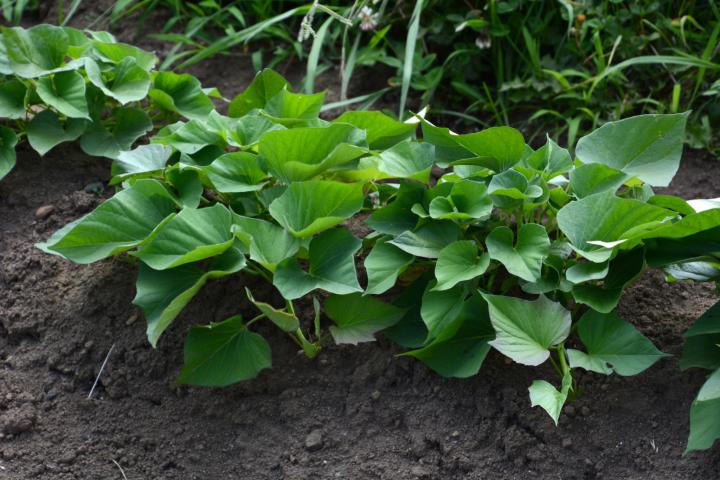
Planting Sweet Potato Slips
Step-by-Step Planting:
- Spacing: Plant slips 12–18 inches apart in garden beds or 1–2 slips per large container.
- Depth: Insert slips 2–3 inches deep into soil or potting mix.
- Watering: Water immediately after planting to settle the soil around roots.
- Support: No staking is required as sweet potato vines spread horizontally.
Watering and Fertilization
Watering Guidelines:
- Keep soil consistently moist for the first 2–3 weeks to help root establishment.
- Afterward, water moderately; avoid waterlogging as tubers may rot.
- Reduce watering 2–3 weeks before harvest to enhance sweetness.
Fertilization:
- Use a balanced, low-nitrogen fertilizer to encourage tuber formation.
- Apply compost or organic fertilizer every 4–6 weeks.
- Avoid over-fertilization, as excess nitrogen promotes foliage at the expense of tubers.
Mulching and Weed Management
- Apply organic mulch (straw, dried leaves, or grass clippings) around plants to retain soil moisture, suppress weeds, and maintain moderate soil temperature.
- Remove weeds carefully to prevent competition for nutrients and water.
Pest and Disease Management
Sweet potatoes are generally hardy but can face common pests and diseases:
Common Pests:
- Sweet Potato Weevils: Bore into tubers; control with insect traps and clean cultivation.
- Aphids: Feed on foliage; manage with neem oil or insecticidal soap.
- Whiteflies and Caterpillars: Monitor regularly and remove manually or treat with safe organic pesticides.
Common Diseases:
- Root Rot: Caused by waterlogging; prevent by proper drainage.
- Fungal Leaf Spots: Remove affected leaves; avoid overhead watering.
- Viral Infections: Use healthy slips and maintain garden hygiene.
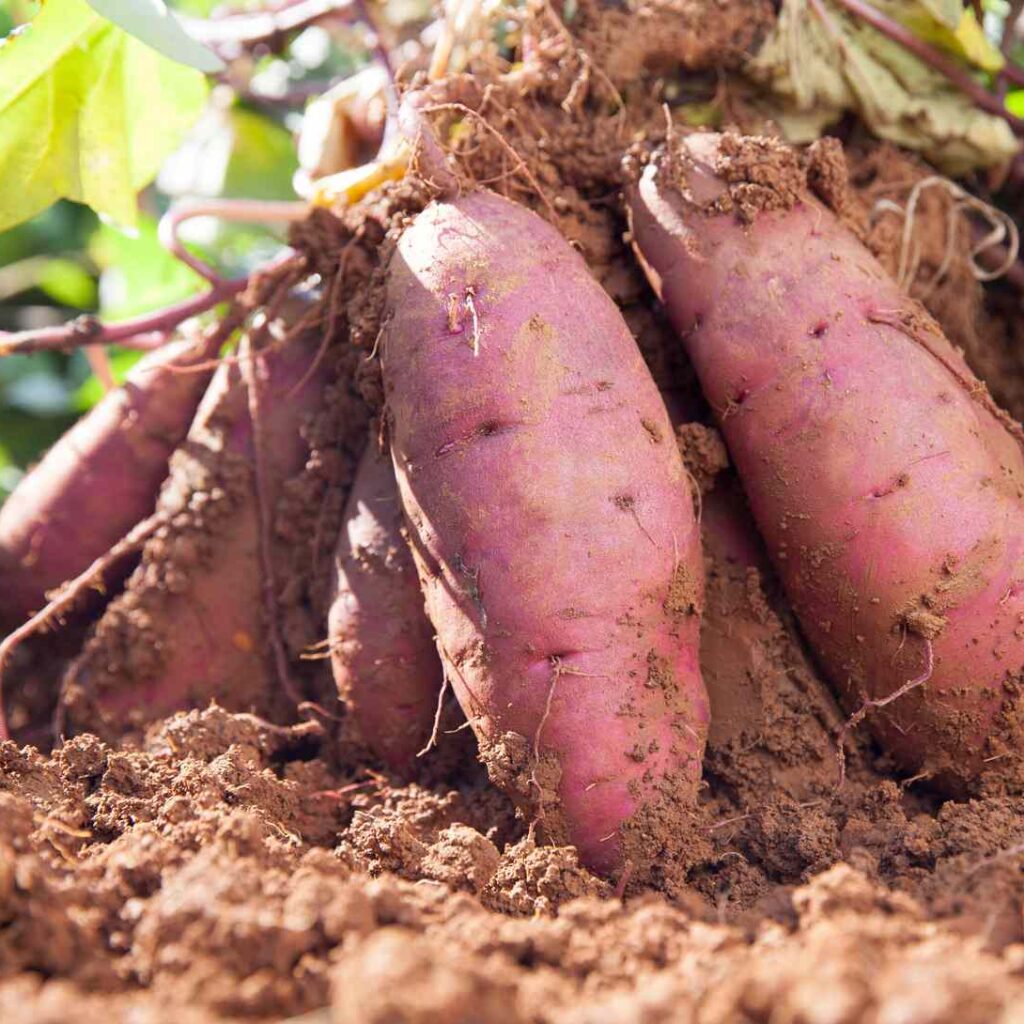
Harvesting Sweet Potatoes
Sweet potatoes are typically ready to harvest 90–120 days after planting, depending on variety and growing conditions:
- Indicators of Maturity:
- Leaves may yellow and vines begin to die back.
- Tubers reach desired size (4–6 inches long for most varieties).
- Harvesting Method:
- Gently loosen soil around the tubers using a fork or trowel.
- Lift tubers carefully to avoid bruising or cutting.
- Curing:
- Cure tubers for 5–7 days at 29–32°C (85–90°F) with high humidity.
- Curing improves sweetness and storage life.
- Storage:
- Store in a cool, dry, and well-ventilated place for several months.
- Avoid refrigeration before curing, as it can alter taste and texture.
Tips for Successful Home Cultivation
- Choose disease-free, healthy slips to ensure strong growth.
- Provide consistent sunlight and moderate watering.
- Use well-draining soil to prevent rot.
- Mulch around plants to conserve moisture and regulate temperature.
- Monitor regularly for pests and prune damaged foliage.
- Harvest carefully to avoid bruising tubers, ensuring long-term storage.
Health and Nutritional Benefits of Sweet Potatoes
- Rich in beta-carotene, which supports eye health and immunity.
- High in dietary fiber for better digestion.
- Contains antioxidants that protect against cellular damage.
- Low glycemic index, making it suitable for blood sugar management.
- Can be incorporated into a variety of recipes, from baking to soups and stews.
Conclusion
Growing sweet potatoes at home is a highly rewarding endeavor, combining nutritious harvests with hands-on gardening experience. By selecting the right variety, preparing soil effectively, propagating healthy slips, and maintaining consistent care, home gardeners can enjoy bountiful yields of sweet, delicious tubers.

Container or garden-bed cultivation offers flexibility, allowing both urban and rural gardeners to engage in sustainable, productive gardening. With careful watering, fertilization, pest management, and timely harvesting, sweet potatoes can thrive in any home environment, providing a continuous supply of healthy, flavorful produce.
Home-grown sweet potatoes not only promote healthy eating but also encourage self-sufficiency, making them a valuable addition to any home garden. Following this step-by-step guide, gardeners can achieve a successful and enjoyable sweet potato cultivation experience year after year.

Leave A Comment