Onions are a kitchen essential found in almost every cuisine around the world. From enhancing flavors in soups and curries to adding a sharp crunch to salads, they’re a must-have in every pantry. Imagine having a fresh supply of onions right from your own garden — no more last-minute trips to the store!
The good news is, growing onions at home is surprisingly easy, whether you have a large backyard, a small terrace, or just some containers on your balcony. This guide will walk you through everything you need to know about planting, caring for, and harvesting onions successfully.
Why Grow Onions at Home?

- Freshness: Homegrown onions have a richer flavor and aroma compared to store-bought ones.
- Cost-Effective: One planting can yield months’ worth of onions for your kitchen.
- Variety: Grow different types — red, white, yellow, or even sweet onions.
- Space-Friendly: Can be grown in beds, pots, or even recycled containers.
- Sustainable: Reduce packaging waste and your carbon footprint.
Step 1: Choosing the Right Onion Variety
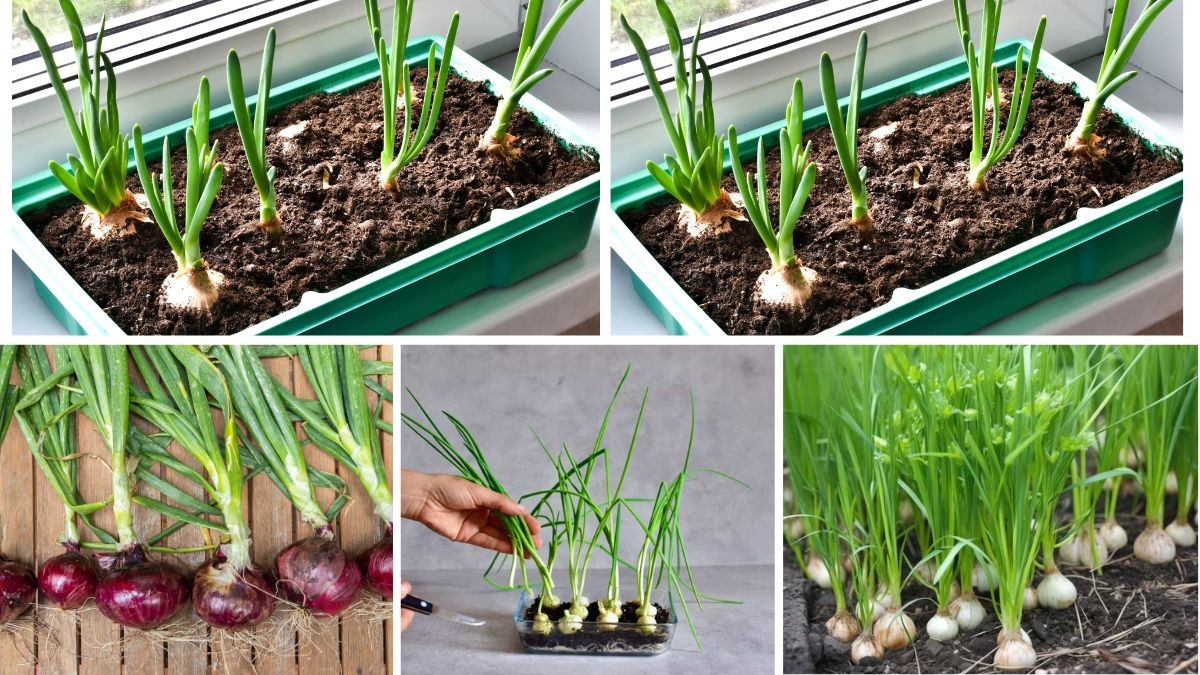
There are three main ways to grow onions — from seeds, from sets (small bulbs), or from seedlings.
- Onion Seeds:
- Cheaper but take longer to mature.
- Suitable for experienced gardeners.
- Onion Sets:
- Immature bulbs that are easy to plant and fast to harvest.
- Best for beginners.
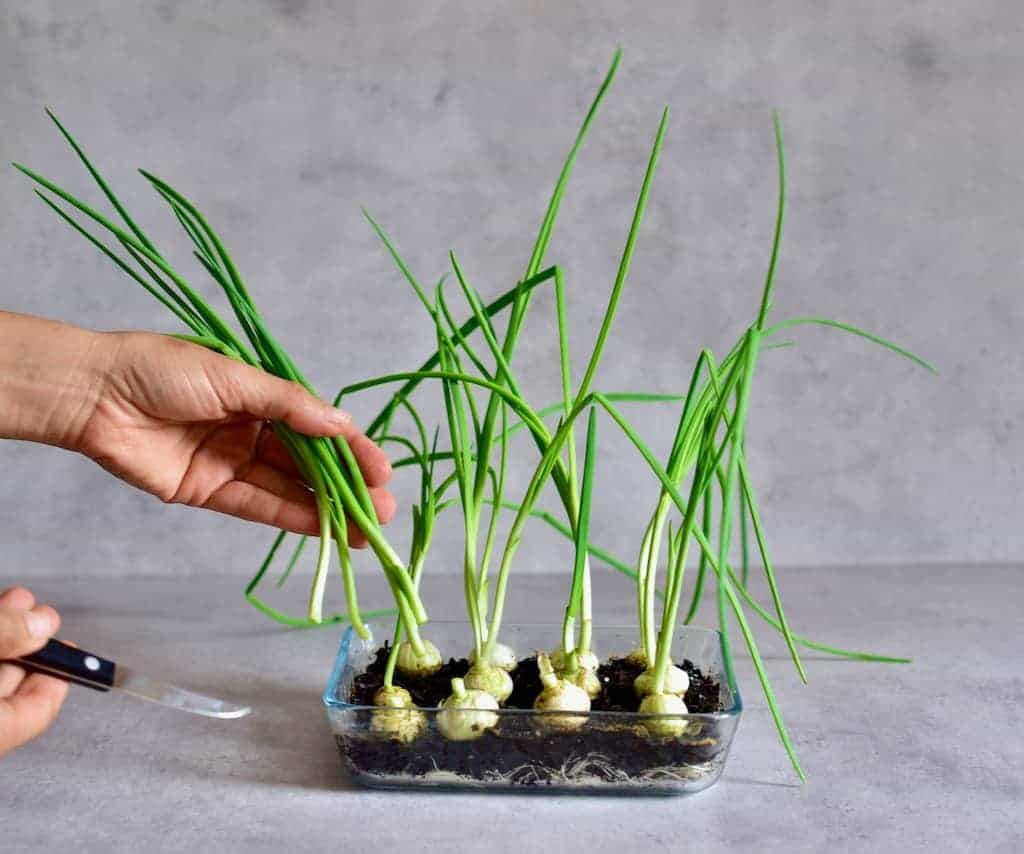
- Onion Seedlings (Transplants):
- Young onion plants ready to be transplanted into the soil.
- Ideal for a quick start.
Popular Varieties for Home Gardens:
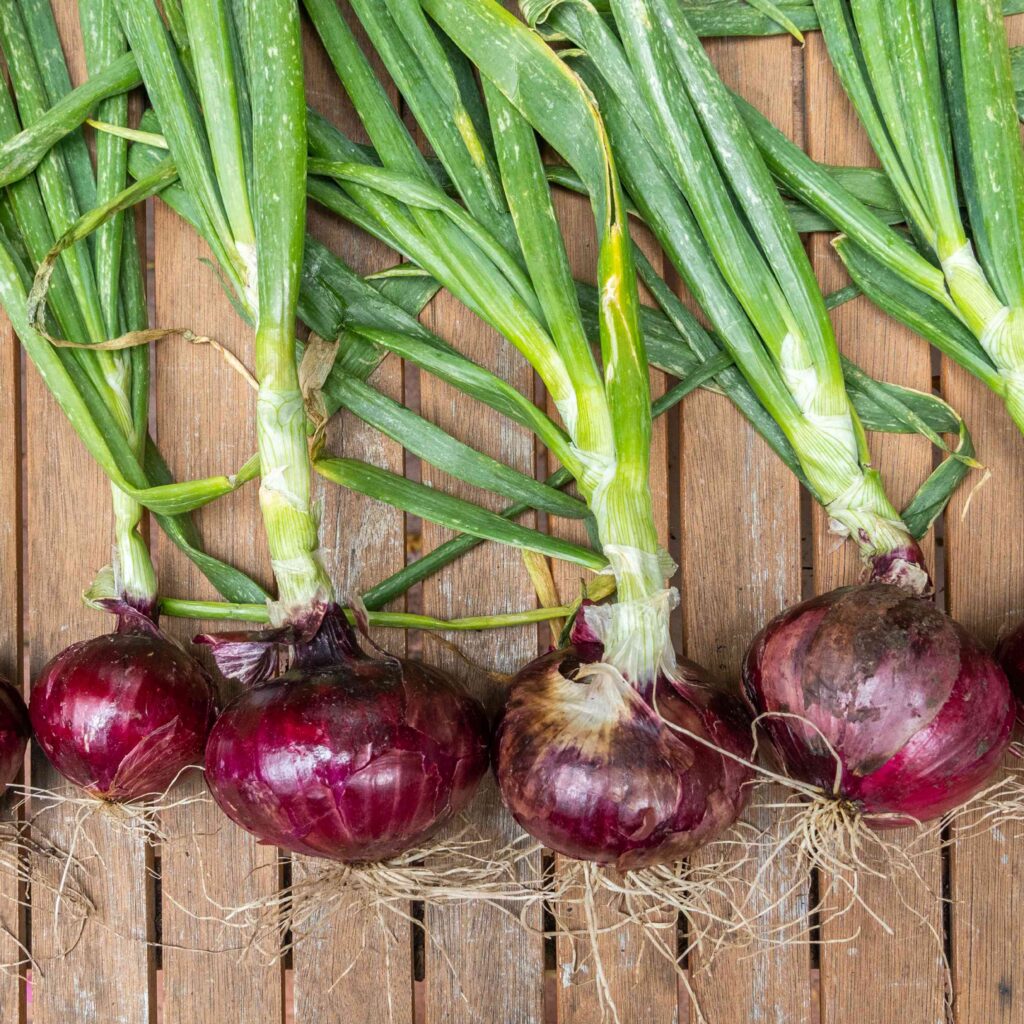
- Red Onions: Strong flavor, perfect for salads and grilling.
- White Onions: Sharp taste, great for salsas and cooking.
- Yellow Onions: Balanced flavor, ideal for everyday use.
- Sweet Onions: Mild taste, excellent for raw use in sandwiches.
Step 2: Understanding Onion Day-Length Types
Onions form bulbs based on day length, so it’s important to choose the right type for your region.
- Short-Day Onions: Bulb when daylight is 10–12 hours (best for southern/warm climates).
- Intermediate-Day Onions: Bulb when daylight is 12–14 hours (good for central regions).
- Long-Day Onions: Bulb when daylight is 14–16 hours (best for northern/cooler climates).
Tip: Check with your local nursery to find the best variety for your area.
Step 3: Selecting the Planting Location
Onions love sunlight and need at least 6–8 hours of direct sunlight daily.
- Soil: Loose, well-draining, rich in organic matter.
- pH Level: Slightly acidic to neutral (6.0–7.0).
- Avoid: Heavy clay soil that retains water and causes bulb rot.
If you don’t have a garden bed, onions grow well in deep containers (8–12 inches) with good drainage.
Step 4: Preparing the Soil
Healthy soil is key to growing large, flavorful onions.
- Loosen the Soil: Use a garden fork to loosen the top 8–10 inches.
- Add Organic Matter: Mix in compost or well-rotted manure for nutrients.
- Level and Rake: Smooth the surface before planting.
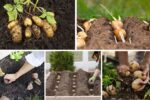
Step 5: Planting Onions
The planting method depends on whether you’re using seeds, sets, or seedlings.
- Planting Onion Seeds:
- Sow seeds ¼ inch deep and 1 inch apart.
- Thin seedlings to 4 inches apart once they sprout.
- Planting Onion Sets:
- Place sets pointy side up, 1 inch deep, 4 inches apart.
- Planting Onion Seedlings:
- Transplant seedlings 4–6 inches apart in rows.
Row Spacing: Keep rows 12–18 inches apart for proper air circulation.
Step 6: Watering Requirements
Onions need consistent moisture, especially during bulb formation.
- Frequency: Water once or twice a week depending on rainfall.
- Amount: Aim for 1 inch of water per week.
- Avoid Overwatering: Too much water can cause rot.
- Best Time: Early morning to reduce evaporation.
Tip: Use mulch around the plants to retain soil moisture and reduce weeds.
Step 7: Fertilizing Onions
Onions are heavy feeders, so regular fertilization is important.
- Before Planting: Add compost or organic fertilizer to the soil.
- During Growth: Apply nitrogen-rich fertilizer (like blood meal) every 2–3 weeks until bulbs start forming.
- Bulb Stage: Switch to a balanced fertilizer to promote bulb development.
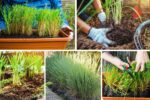
Step 8: Caring for Your Onion Plants
- Weeding: Keep the bed weed-free to avoid competition for nutrients.
- Mulching: Helps maintain soil temperature and moisture.
- Pest Control: Watch for onion maggots, thrips, and fungal diseases. Use neem oil or insecticidal soap if needed.
- Support Growth: Avoid damaging the leaves — they’re essential for photosynthesis and bulb growth.
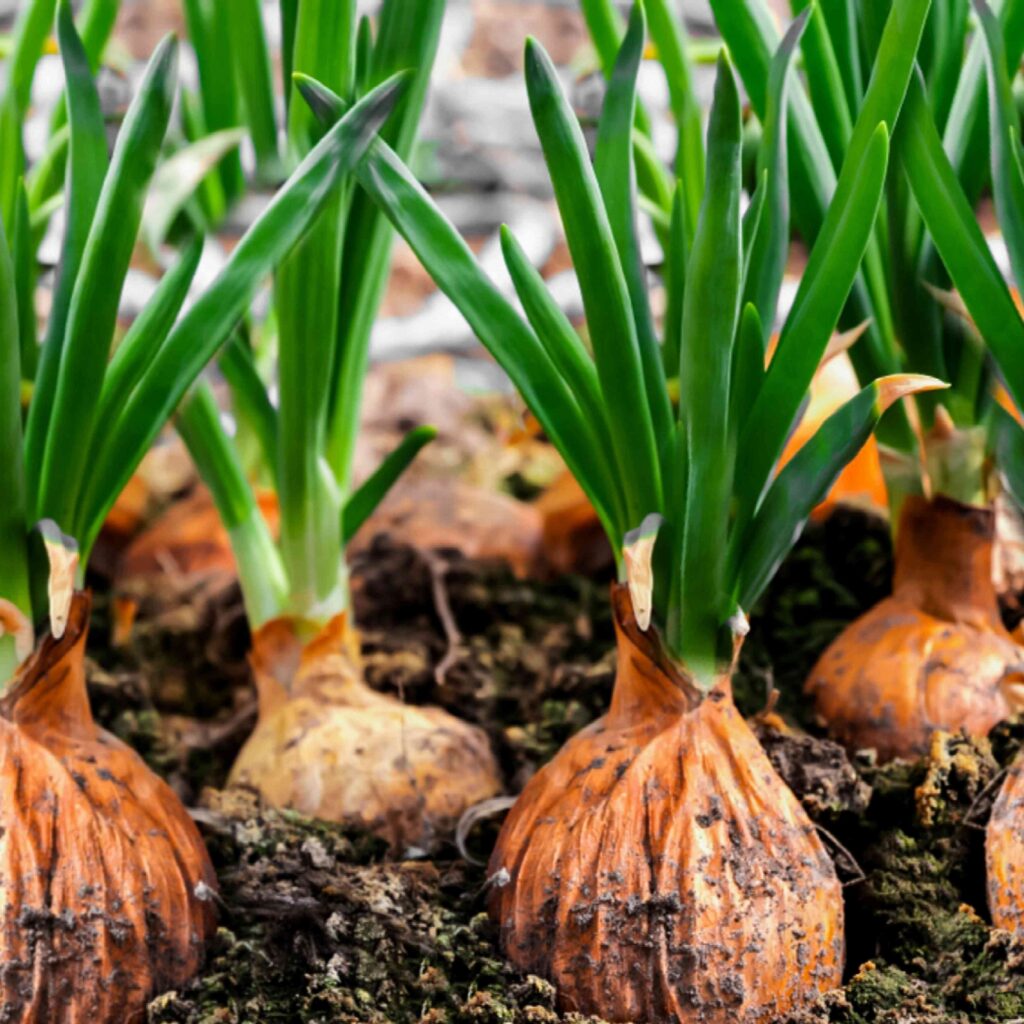
Step 9: Bulb Development and Signs of Maturity
Onions begin to bulb when they receive the right day length and temperature.
Signs Your Onions Are Ready to Harvest:
- Tops turn yellow and fall over naturally.
- Bulbs reach the expected size for the variety.
- The neck (where leaves meet the bulb) feels soft.
Step 10: Harvesting Onions
- Stop watering when most tops fall over.
- Use a garden fork to loosen soil and gently pull out onions.
- Shake off excess soil without damaging the skin.
- Avoid washing onions before curing.
Step 11: Curing and Storing Onions
Curing helps onions last longer in storage.
- Curing Process:
- Lay onions in a dry, well-ventilated place out of direct sun for 2–3 weeks.
- Turn them occasionally to dry evenly.
- Once the outer skin is papery and dry, trim the tops and roots.
- Storage:
- Store in a cool, dark, dry place with good airflow.
- Avoid plastic bags; use mesh bags or baskets.
- Properly cured onions can last 4–6 months.
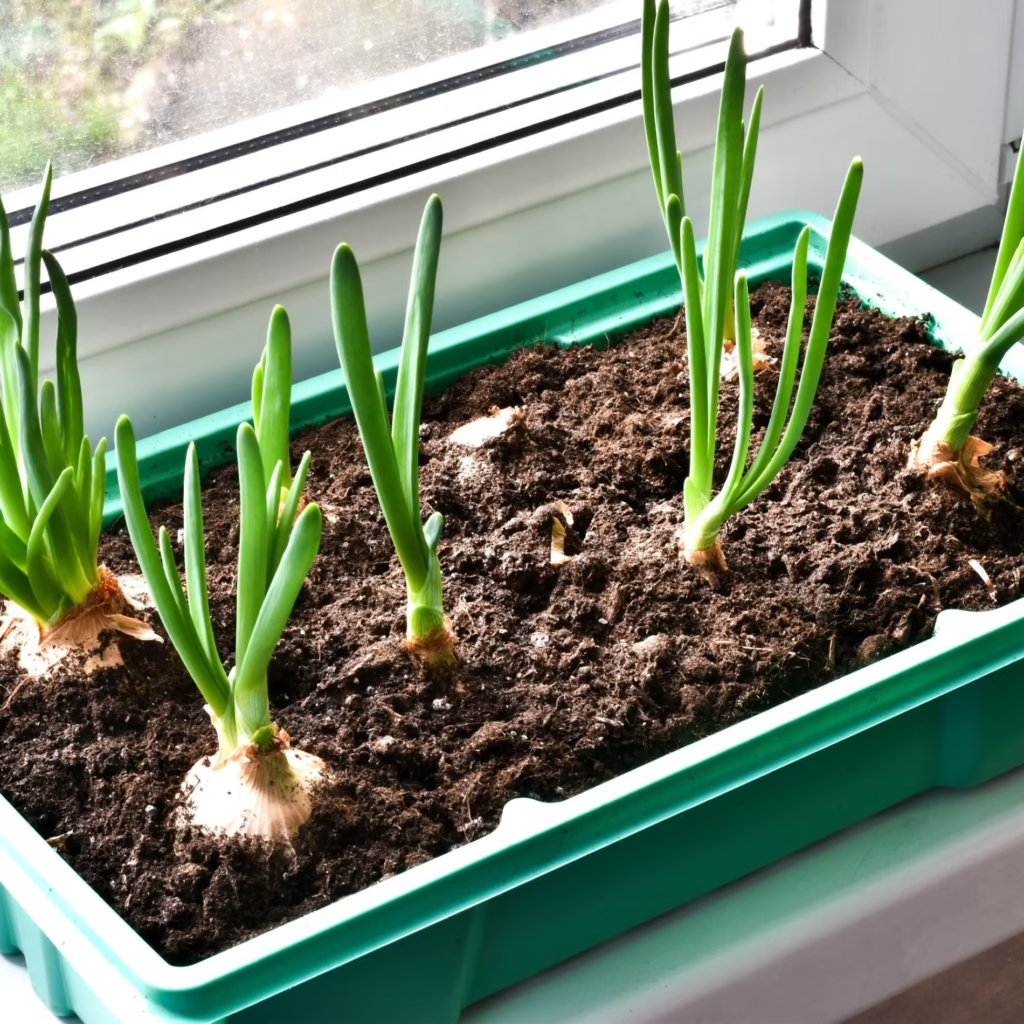
Step 12: Growing Onions in Containers
If space is limited, onions can be grown successfully in pots.
- Pot Size: At least 8 inches deep.
- Soil: Use loose, nutrient-rich potting mix.
- Planting Distance: 3–4 inches between plants.
- Care: Same watering and feeding as garden-grown onions.
Step 13: Common Onion Growing Problems and Solutions
- Small Bulbs: Crowded planting or insufficient sunlight.
- Rotting Bulbs: Poor drainage or overwatering.
- Yellowing Leaves Early: Nutrient deficiency or pest attack.
- Bolting (Flowering): Caused by temperature stress; choose bolt-resistant varieties.
Step 14: Using Your Homegrown Onions
Freshly harvested onions can be used in countless ways:
- Caramelized onions for pasta and sandwiches.
- Fresh slices in salads and burgers.
- Pickled onions for tangy snacks.
- Base flavor for soups, stews, and curries.
Even the green shoots from immature onions can be used like scallions in cooking.
Conclusion
Starting to grow onions at home is a rewarding experience that provides fresh produce, reduces grocery costs, and gives you full control over how your food is grown. Whether you choose seeds, sets, or seedlings, success comes down to providing the right sunlight, soil, water, and care.
With just a little effort, you can enjoy a constant supply of fresh, flavorful onions — straight from your own backyard, balcony, or kitchen garden. From planting to storage, the process is simple enough for beginners but satisfying enough for seasoned gardeners.
Leave A Comment