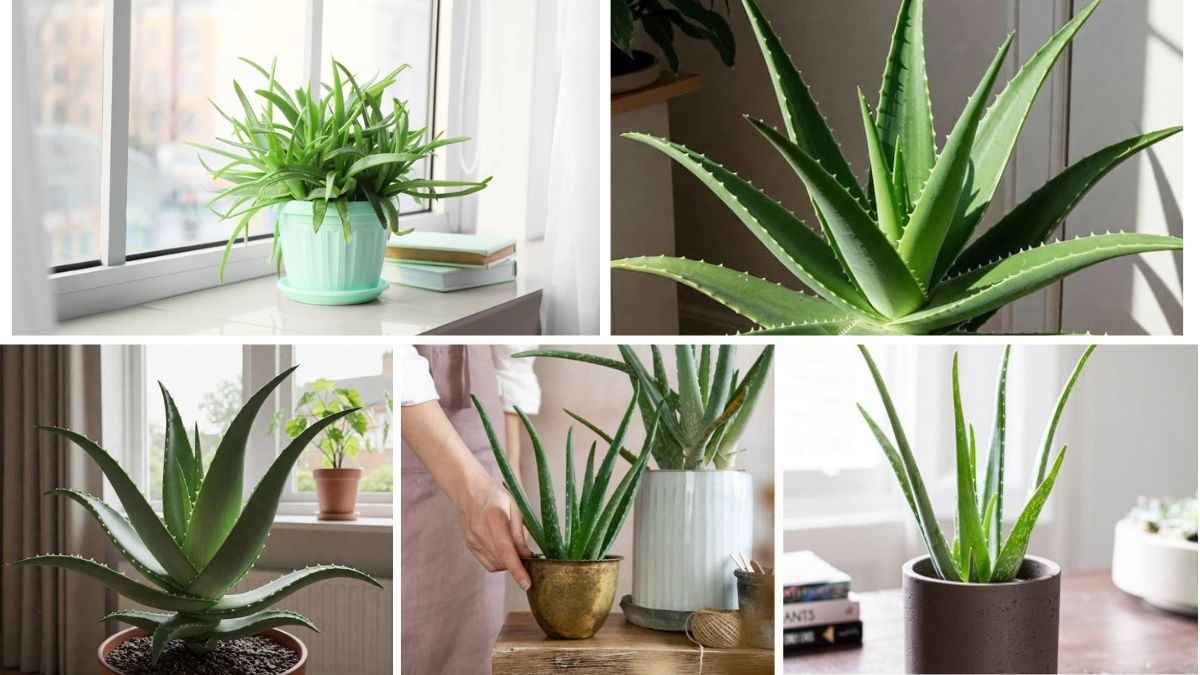
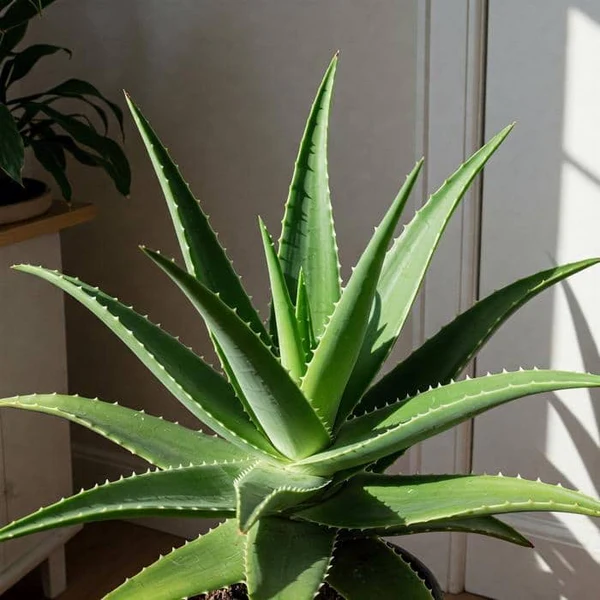
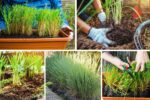
Aloe vera is one of the most popular houseplants in the world — and for good reason. Known for its soothing gel, medicinal uses, and air-purifying qualities, aloe vera is both beautiful and practical. The best part? It’s surprisingly easy to grow indoors, even if you’re new to gardening.
This guide will walk you through everything you need to know to start growing aloe vera indoors — from choosing the right plant to keeping it healthy for years.
Why Grow Aloe Vera Indoors?
Before diving into the steps, it’s worth understanding why aloe vera is such a valuable indoor plant:
- Medicinal Benefits: Aloe gel can be used to soothe burns, cuts, and skin irritations.
- Air Purification: Aloe helps remove toxins like formaldehyde from indoor air.
- Low Maintenance: It thrives with minimal watering and care.
- Decorative Appeal: Its thick, spiky leaves add a touch of greenery to any space.
- Longevity: Aloe plants can live for years with proper care.
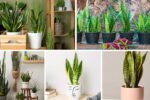
Step 1: Choosing the Right Aloe Vera Plant
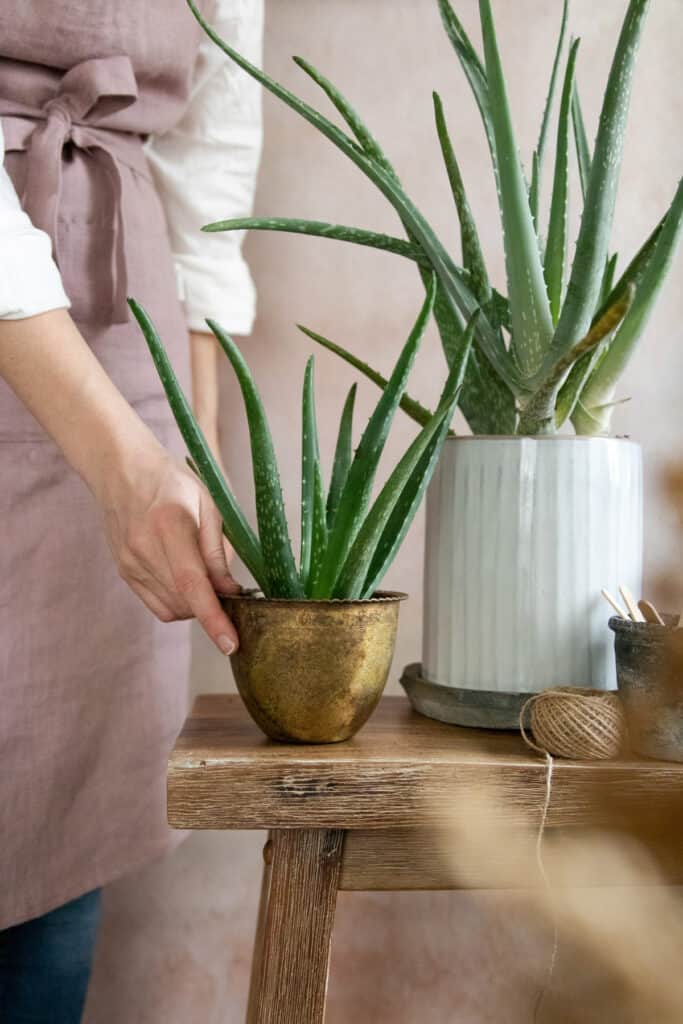
If you’re just starting, it’s best to get a young, healthy aloe vera plant from a nursery or garden store rather than starting from seed. Aloe vera seeds take a long time to germinate and grow, so a small potted plant is ideal for beginners.
What to Look For:
- Firm, green leaves with no spots or signs of rot.
- A healthy central rosette (where new leaves emerge).
- Roots that are not overcrowded in the pot.
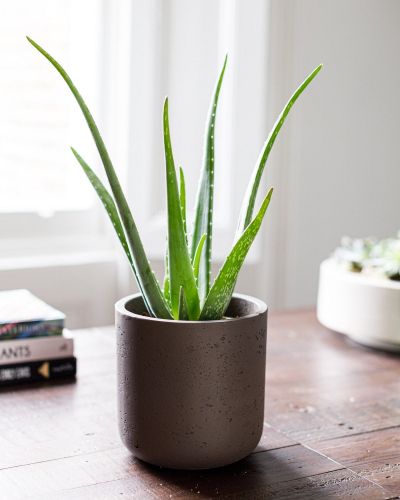
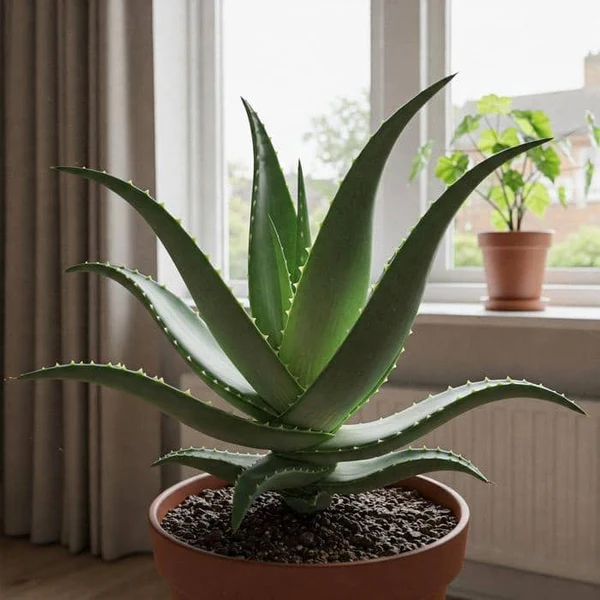
Step 2: Picking the Right Container
Aloe vera needs a container that encourages good drainage — standing water is its worst enemy.
- Material: Terracotta or clay pots are best because they allow the soil to dry out between waterings.
- Size: Choose a pot just slightly larger than the root ball. Too big, and soil may stay wet for too long.
- Drainage Holes: Always ensure there’s at least one drainage hole at the bottom.
Pro Tip: Use a shallow saucer under the pot to catch excess water, but never let the plant sit in it.
Step 3: Choosing the Right Soil
Aloe vera is a succulent, meaning it prefers sandy, well-draining soil.
- Best Choice: Cactus or succulent potting mix.
- DIY Mix: Combine 2 parts potting soil, 1 part coarse sand, and 1 part perlite.
- Avoid: Garden soil, as it retains too much moisture.
Tip: Adding small gravel or pebbles at the bottom of the pot improves drainage further.
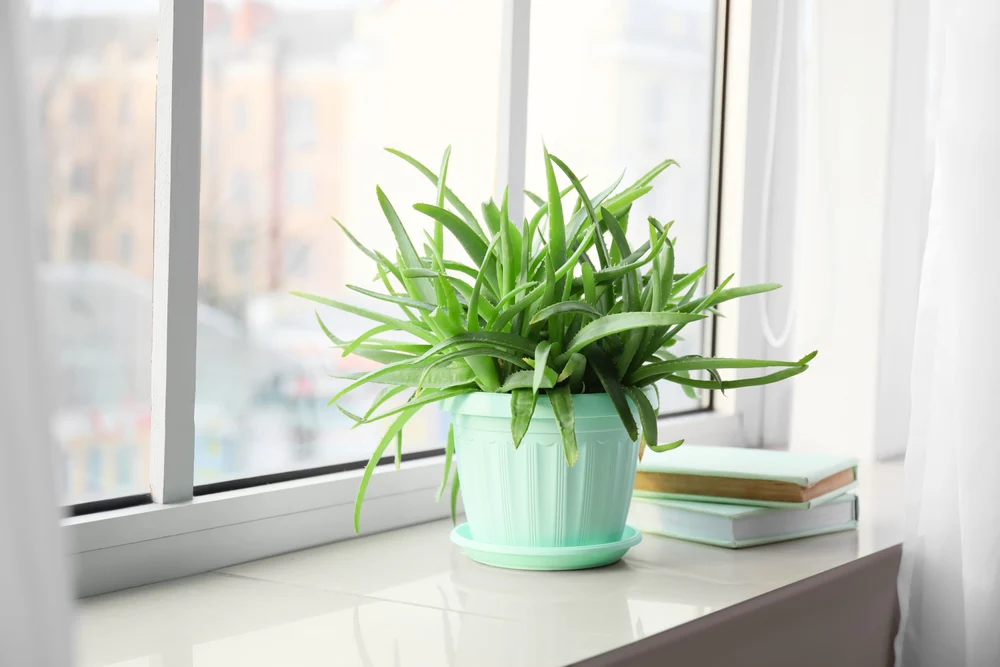
Step 4: Light Requirements
Aloe vera loves sunlight, and indoors it will need a bright spot.
- Ideal Spot: A south- or west-facing window where it can get at least 6–8 hours of indirect sunlight daily.
- Too Much Direct Sun: Harsh midday sun through glass can scorch leaves, causing brown tips.
- Low Light: Aloe will grow slowly and may become weak or leggy.
If You Lack Sunlight: Use a grow light for 12–14 hours a day to mimic natural conditions.
Step 5: Planting Aloe Vera
When potting your aloe vera, follow these steps:
- Place a small layer of gravel or pebbles at the bottom of the pot (optional but helpful for drainage).
- Fill the pot halfway with your chosen soil mix.
- Place the aloe vera plant in the center, spreading its roots gently.
- Add more soil around the roots, leaving the lower leaves above the soil line.
- Do not water immediately; wait 2–3 days to allow any root damage to heal and prevent rot.
Step 6: Watering Aloe Vera Indoors
Aloe vera stores water in its thick leaves, so overwatering is the most common cause of plant death.
- Watering Rule: Water deeply but infrequently.
- Frequency: About every 2–3 weeks in warmer months, and once a month in winter.
- Check Before Watering: Insert your finger into the soil; if it’s dry 2 inches deep, it’s time to water.
- Drain Well: Let excess water flow out of the drainage holes — never leave the plant sitting in water.
Sign of Overwatering: Mushy, discolored leaves and root rot.
Sign of Underwatering: Thin, curled, or dry leaf tips.
Step 7: Temperature and Humidity Needs
Aloe vera loves warm, dry conditions.
- Temperature: 18°C–27°C (65°F–80°F) is ideal.
- Winter Care: Protect from drafts and never place it near freezing temperatures.
- Humidity: Aloe prefers low humidity, making it perfect for most indoor environments.
Step 8: Fertilizing Aloe Vera
While aloe vera doesn’t need heavy feeding, a little boost during the growing season helps.
- Fertilizer Type: Balanced, water-soluble houseplant fertilizer diluted to half strength, or a cactus fertilizer.
- Frequency: Once in spring and once in mid-summer.
- Avoid Overfeeding: Too much fertilizer can burn roots and damage leaves.
Step 9: Repotting Aloe Vera
Aloe vera grows slowly but will eventually outgrow its pot.
- Signs It’s Time to Repot: Roots are visible through drainage holes, soil dries too quickly, or the plant becomes top-heavy.
- Best Time to Repot: Spring or early summer.
- Method: Follow the same planting steps, but refresh the soil completely.
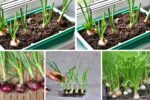
Step 10: Propagating Aloe Vera (Growing More Plants)
Aloe vera produces “pups” or “offsets” — baby plants that grow at the base.
How to Separate Pups:
- Remove the plant from the pot and gently brush away soil.
- Look for small offsets with their own roots.
- Gently separate them from the main plant using clean scissors if necessary.
- Let the pups dry for 1–2 days before planting them in fresh soil.
Step 11: Common Problems and Solutions
Even a low-maintenance plant like aloe vera can face issues.
- Brown Leaf Tips: Too much direct sun or underwatering.
- Yellowing Leaves: Overwatering or poor drainage.
- Soft, Mushy Leaves: Root rot — cut back watering and remove damaged parts.
- Leggy Growth: Not enough light; move to a brighter location.
- Pests: Occasionally attacked by mealybugs or scale insects — remove with cotton dipped in rubbing alcohol.
Step 12: Harvesting Aloe Vera Gel
One of the biggest perks of growing aloe vera indoors is having fresh gel on hand.
How to Harvest:
- Choose a thick, outer leaf.
- Cut it close to the base with a clean knife.
- Rinse off any yellow sap (aloin), which can be irritating.
- Slice open the leaf and scoop out the clear gel.
Uses of Aloe Gel:
- Apply to burns, sunburns, and cuts.
- Use as a natural moisturizer for skin and hair.
- Add to homemade face masks.
Seasonal Care Tips
- Spring/Summer: Increase watering frequency slightly; consider moving the plant outdoors for fresh air.
- Autumn/Winter: Reduce watering; ensure the plant is away from cold windows and heating vents.
- Rainy Season: Avoid letting rainwater collect in the pot if moved outdoors.
Conclusion
Growing aloe vera indoors is one of the easiest ways to enjoy a beautiful, functional houseplant that rewards you with natural health benefits. With the right sunlight, well-draining soil, and careful watering, your aloe vera can thrive for years — and even produce new plants for you to share.
Whether you keep it for its medicinal gel, air-cleaning abilities, or simply as a touch of green in your home, aloe vera is a perfect plant for beginners and experienced gardeners alike. With just a little care, you’ll have a thriving indoor aloe vera garden that’s as practical as it is beautiful.
Leave A Comment