Imagine stepping outside your door and harvesting fresh, aromatic ginger for your tea, curries, or desserts — grown right in your backyard or on your balcony. While ginger (Zingiber officinale) is often thought of as a tropical crop, it’s surprisingly simple to grow at home, even for beginners. With just a small piece of fresh ginger root, a pot of good soil, and a bit of care, you can cultivate this flavorful and medicinal plant with ease.
In this complete planting guide, we’ll show you how to grow fresh ginger at home — from selecting the right root to planting, care, and harvesting. Whether you have a garden, a patio, or just a sunny windowsill, you can successfully grow your own ginger.
Why Grow Ginger at Home?
Ginger is one of the most versatile plants you can grow at home. It’s easy, low-maintenance, and brings a range of benefits:
- Fresh Supply: Enjoy freshly harvested, chemical-free ginger.
- Compact Growth: Perfect for small spaces, containers, or balconies.
- Low Maintenance: Needs minimal care and thrives in partial shade.
- Health Benefits: Natural remedy for colds, nausea, inflammation, and digestive issues.
- Cost-Effective: One store-bought ginger root can multiply into a season’s worth of harvest.
What You’ll Need to Grow Fresh Ginger at Home
Before you start planting, gather the following essentials:
- Fresh, organic ginger root with visible “eyes” (small bumps or buds)
- Well-draining, rich potting mix or garden soil
- A wide, shallow pot or a garden patch
- Watering can with a fine nozzle
- Mulch (straw, dry leaves, or grass clippings)
- A warm, partially shaded area (patio, windowsill, or garden bed)
Tip: Opt for organic ginger as non-organic varieties are sometimes treated with growth inhibitors.
Step-by-Step: How to Plant Fresh Ginger at Home
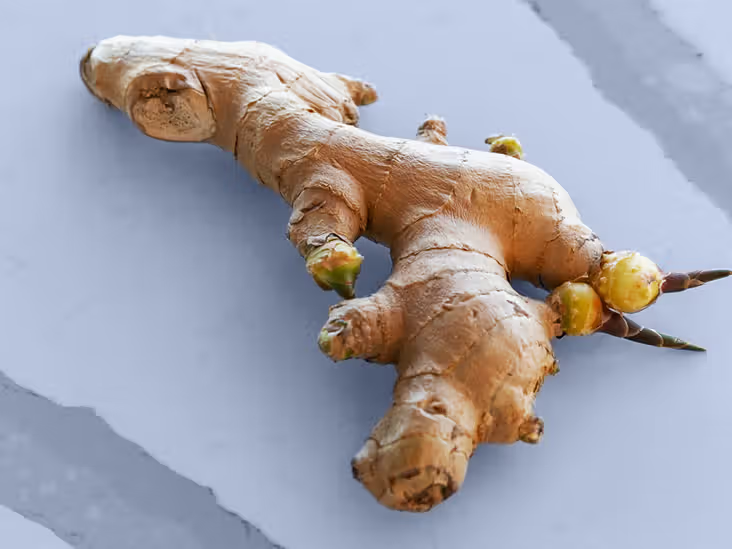
Step 1: Select Fresh, Healthy Ginger Rhizomes
Look for:
- Plump, firm ginger pieces
- Light brown skin
- Prominent growth buds (eyes) at the tips or sides
If possible, select organic ginger, ensuring better sprouting success.
Step 2: Prepare the Ginger Root
- Cut large ginger roots into 1-2 inch pieces, ensuring each piece has at least one growth bud.
- Let the cut pieces air-dry in a shaded area for 24–48 hours. This calluses the cut surface and helps prevent rot once planted.
Step 3: Choose the Perfect Spot
Ginger prefers:
- Partial shade or dappled sunlight.
- Sheltered from wind and heavy rain.
- Warm conditions between 68–86°F (20–30°C).
It thrives in tropical and subtropical climates but adapts well to indoor and container growing in cooler areas.
Step 4: Prepare the Soil
Ideal soil conditions:
- Loose, loamy, and well-draining.
- Rich in organic matter.
- Slightly acidic to neutral (pH 5.5–6.5).
You can mix:
- 60% potting soil
- 20% coarse sand or perlite
- 20% compost or well-aged manure
Loosen soil to a depth of 8–10 inches.
Step 5: Plant the Ginger
In pots:
- Choose a wide, shallow container at least 12 inches deep with drainage holes.
- Fill with prepared soil mix.
- Place ginger pieces 2-4 inches deep with the eyes facing upward.
- Space them 8 inches apart in garden beds.
Cover gently with soil and water lightly.
Step 6: Water and Mulch
- Keep the soil consistently moist but not soggy.
- Water gently when the top inch of soil feels dry.
- Avoid overwatering as ginger is prone to rot.
- Apply a 2-inch layer of mulch (dry leaves, straw, or grass clippings) to retain moisture and suppress weeds.
Ginger Plant Care Tips
Light:
- Prefers filtered or indirect sunlight.
- Avoid harsh midday sun that can scorch leaves.
- Indoors, place near a south-facing window with partial light.
Temperature:
- Ginger thrives in warm temperatures of 68–86°F (20–30°C).
- Avoid temperatures below 50°F (10°C).
- In cooler climates, move containers indoors during cold months.
Feeding:
- Apply organic liquid fertilizer or compost tea every 4–6 weeks during the growing season.
- Top up with compost or well-aged manure monthly.
Pests and Diseases:
Generally hardy, but keep an eye out for:
- Mealybugs, aphids, and spider mites. Remove with a water spray or neem oil.
- Root rot due to overwatering or poorly draining soil.
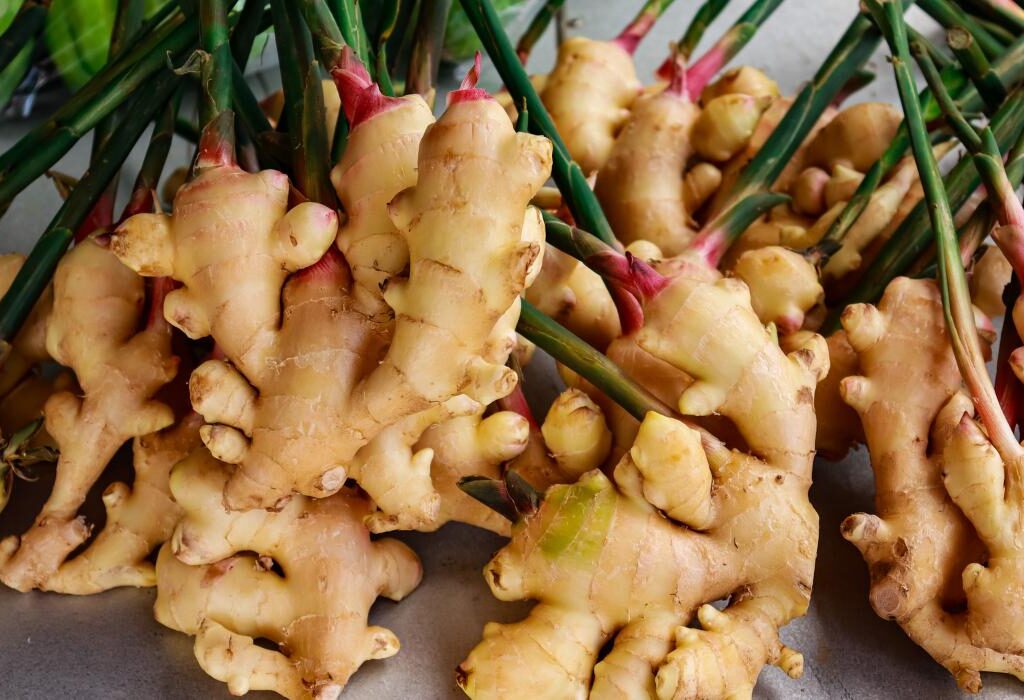
Harvesting Fresh Ginger at Home

You can harvest ginger in two stages:
Early Harvest:
- After 4–5 months, carefully dig around the plant and snip off small sections of young, tender ginger.
- Re-cover the remaining rhizome and let it continue growing.
Full Harvest:
- After 8–10 months, when the leaves turn yellow and dry, gently dig up the entire plant.
- Shake off excess soil, trim leaves, and clean the rhizomes.
Tip: Reserve a few healthy pieces with growth buds for replanting the next season.
Storing Freshly Harvested Ginger
- Fresh: Store in a cool, dry place for 2–3 weeks.
- Refrigerated: Wrap in a paper towel and store in a resealable bag for up to 3 months.
- Frozen: Peel, cut into pieces, and freeze for 6 months or more.
- Dried: Slice thin and dry in a dehydrator for long-term use.
Can You Grow Ginger Year-Round?
Yes — in warm, tropical regions you can plant ginger year-round outdoors.
In temperate and cooler climates:
- Grow in containers indoors during colder months.
- Move pots outdoors in spring and summer.
- Resume regular feeding and watering when growth picks up.
Health Benefits of Fresh Ginger
- Boosts immunity
- Eases nausea and indigestion
- Fights inflammation and joint pain
- Improves blood circulation
- Natural remedy for colds and cough
Adding homegrown ginger to your daily routine is a simple way to enhance wellness naturally.
Final Thoughts
Growing fresh ginger at home is a simple, rewarding, and practical gardening project. With its minimal care requirements, adaptability to small spaces, and countless health benefits, ginger is the perfect addition to any kitchen garden.
By following this easy planting guide — selecting healthy rhizomes, choosing nutrient-rich soil, providing filtered sunlight, and consistent watering — you’ll soon have your own steady supply of fragrant, flavorful ginger to enjoy in meals and remedies.
So, next time you buy fresh ginger from the store, save a piece — and start your own ginger-growing adventure at home!