Roses have long been celebrated as the “queen of flowers” — a timeless symbol of love, elegance, and beauty. Whether you dream of a garden filled with fragrant blooms or just want a few potted roses to brighten your balcony, growing roses is easier than you might think.
With the right guidance, even a beginner can enjoy healthy rose plants that produce stunning flowers year after year. This step-by-step guide will walk you through everything you need to know — from choosing the right variety to caring for your roses like a pro.
1. Why Grow Roses?
Growing your own roses offers multiple benefits:
- Beauty: Roses instantly elevate the look of any garden or patio.
- Fragrance: Many varieties have a rich, pleasing scent.
- Versatility: Roses can be grown in gardens, containers, or even as climbing plants.
- Pollinator Attraction: They draw bees and butterflies, supporting biodiversity.
Plus, growing roses from scratch lets you choose unique varieties you won’t find at the local florist.
2. Step 1 – Choosing the Right Rose Variety
For beginners, selecting the right rose variety is the first step toward success.
Types of Roses:
- Hybrid Tea Roses – Classic long-stemmed blooms, perfect for cutting.
- Floribunda Roses – Produce clusters of flowers, great for borders.
- Shrub Roses – Hardy and low-maintenance.
- Climbing Roses – Ideal for trellises, walls, and fences.
- Miniature Roses – Perfect for pots and small spaces.
Beginner’s Tip: Start with disease-resistant varieties like Knock Out, Carefree Beauty, or Bonica, as they require less maintenance.
3. Step 2 – Choosing the Best Planting Location
Roses love sunlight and good air circulation.

Location Guidelines:
- Sunlight: At least 6–8 hours of direct sunlight daily.
- Soil: Well-draining, loamy soil enriched with organic matter.
- Airflow: Good air circulation helps prevent fungal diseases.
Avoid planting roses in spots where other roses have grown in the last 3–5 years to prevent soil-borne diseases.
4. Step 3 – Preparing the Soil
Healthy soil is the foundation for healthy roses.
Soil Preparation:
- Test soil pH — the ideal range is 6.0 to 6.5 (slightly acidic).
- Mix in compost or well-rotted manure to enrich nutrients.
- If the soil is heavy clay, add sand or perlite for better drainage.
Pro Tip: Deep, fertile soil encourages strong root development, which leads to more blooms.
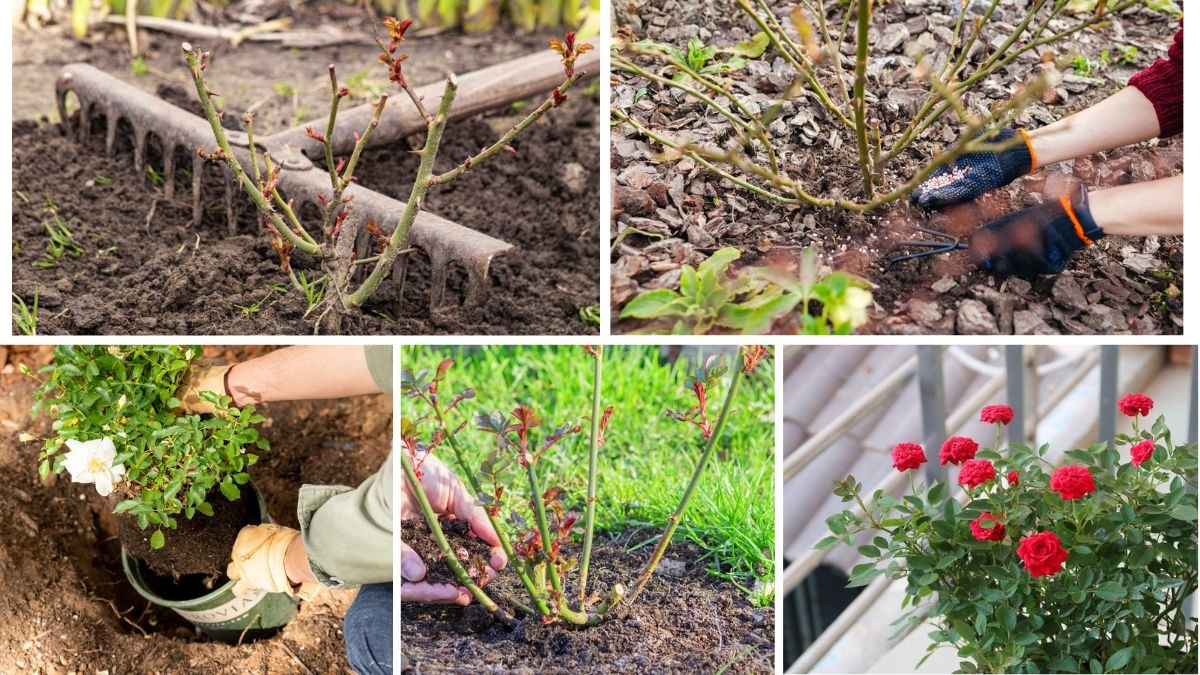
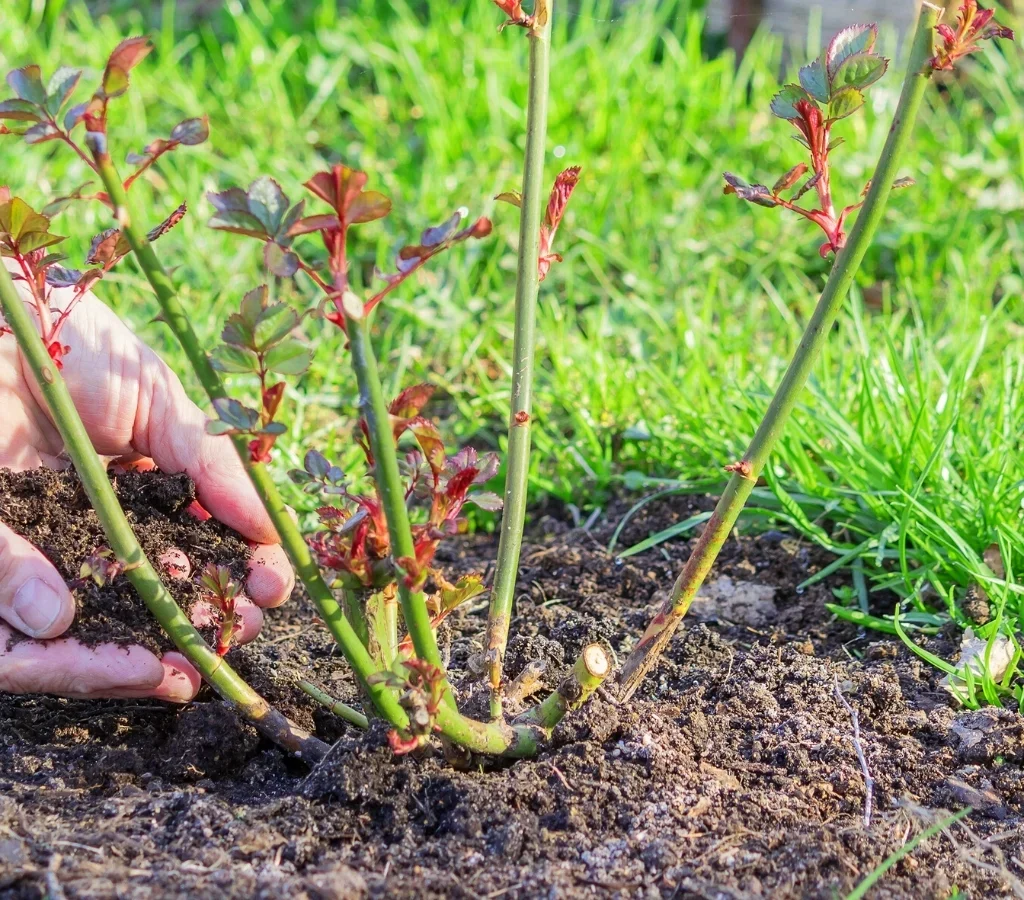
5. Step 4 – Planting Your Roses
You can plant roses from bare-root plants or potted plants.
Bare-Root Roses:
- Best planted in late winter or early spring when dormant.
- Soak roots in water for 8–12 hours before planting.
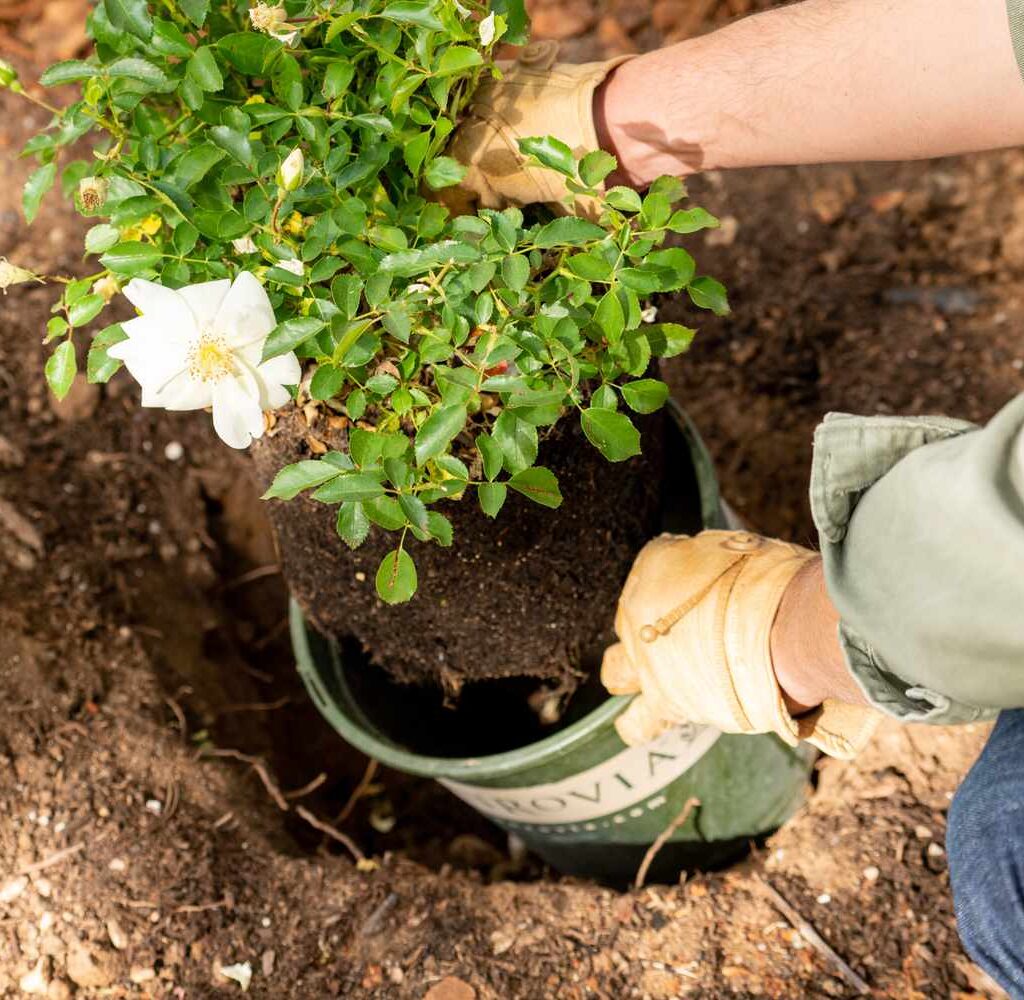
Potted Roses:
- Can be planted anytime during the growing season.
Planting Steps:
- Dig a hole about 18 inches wide and deep.
- Create a small mound of soil in the center of the hole.
- Place the rose so that the graft union (swollen area where stems meet roots) is about 1–2 inches above the soil line in warm climates, or slightly below in cold climates.
- Spread roots evenly and backfill with enriched soil.
- Water thoroughly after planting.
6. Step 5 – Watering Correctly
Roses need regular watering, especially in their first year.
Watering Tips:
- Deeply water at the base of the plant, avoiding wetting the leaves.
- Water 2–3 times a week during dry periods.
- Early morning watering is best to allow leaves to dry quickly.
Pro Tip: Mulching helps retain soil moisture and reduces weed growth.
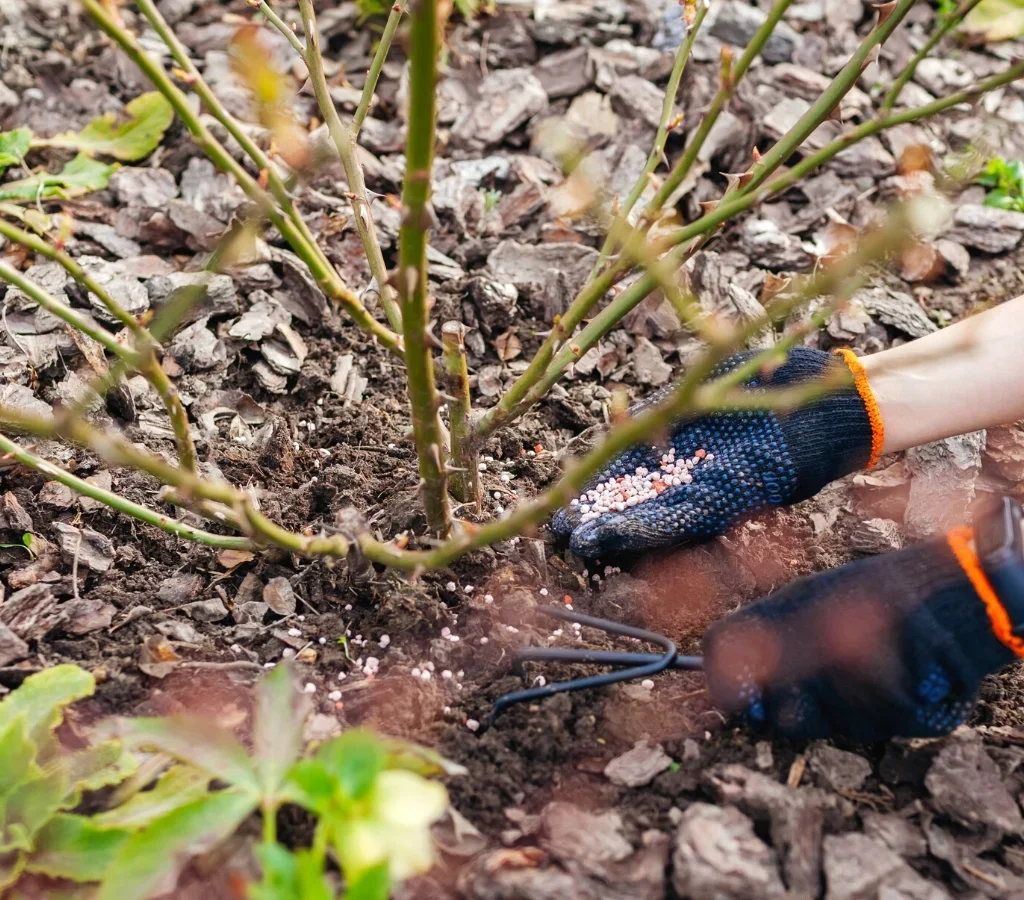
7. Step 6 – Feeding Your Roses
Roses are heavy feeders and appreciate a consistent supply of nutrients.
Fertilizing Schedule:
- Spring (after new growth): Apply a balanced fertilizer (10-10-10).
- Mid-Summer: Feed with a high-phosphorus fertilizer to encourage blooms.
- Late Summer: Stop fertilizing to allow plants to prepare for dormancy.
Organic options like compost tea, fish emulsion, or bone meal work wonderfully.
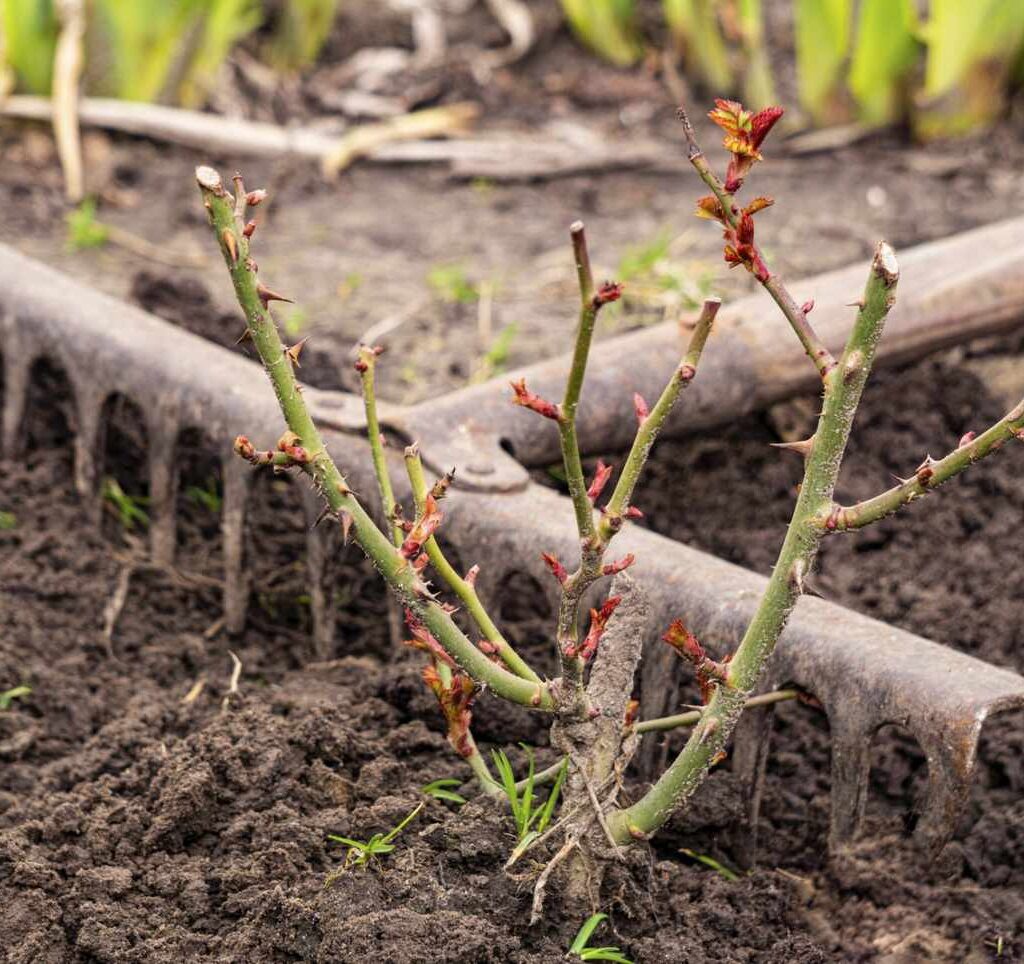
8. Step 7 – Pruning for Health and Shape
Pruning helps roses produce better blooms and stay disease-free.

When to Prune:
- Late winter or early spring, before new growth.
How to Prune:
- Remove dead, damaged, or diseased canes.
- Cut crossing branches to improve airflow.
- Shape the plant so it opens up in the center.
- Always cut at a 45° angle above an outward-facing bud.
Pro Tip: Sterilize pruning shears between plants to prevent disease spread.
9. Step 8 – Mulching for Protection
Apply a 2–3 inch layer of mulch (wood chips, bark, or straw) around the base.
Benefits of Mulching:
- Retains soil moisture.
- Suppresses weeds.
- Protects roots from extreme temperature changes.
Keep mulch a few inches away from the crown to prevent rot.
10. Step 9 – Pest and Disease Management
While roses can be prone to pests and diseases, early action keeps them healthy.
Common Pests:
- Aphids: Small green or black insects — spray with soapy water or neem oil.
- Spider Mites: Tiny pests causing speckled leaves — hose down with water.
- Japanese Beetles: Handpick and drop into soapy water.
Common Diseases:
- Black Spot: Dark leaf spots — remove infected leaves and improve airflow.
- Powdery Mildew: White coating on leaves — use fungicidal spray.
- Rust: Orange spots under leaves — prune affected foliage.
11. Step 10 – Growing Roses in Containers
If you lack garden space, roses can thrive in pots with the right care.
Container Guidelines:
- Choose a pot at least 15–18 inches in diameter with drainage holes.
- Use a high-quality potting mix enriched with compost.
- Water more frequently than garden roses.
- Fertilize regularly during the growing season.
12. Step 11 – Seasonal Care
Spring:
- Prune, fertilize, and start regular watering.
Summer:
- Deadhead spent blooms to encourage new flowers.
Fall:
- Reduce watering and stop fertilizing.
- Remove any diseased leaves.
Winter:
- In cold climates, mound soil or mulch around the base and wrap plants with burlap for protection.
13. Step 12 – Deadheading for Continuous Blooms
Deadheading — removing spent flowers — encourages more blooms and keeps the plant tidy.

How to Deadhead:
- Cut just above the first set of healthy leaves with five leaflets.
Pro Tip: Some modern rose varieties are self-cleaning and don’t require deadheading.
14. Common Problems and Solutions
| Problem | Cause | Solution |
|---|---|---|
| Yellowing leaves | Overwatering, nutrient deficiency | Adjust watering, fertilize regularly |
| Few blooms | Lack of sunlight or overfertilizing | Move to sunnier location, adjust feeding |
| Leaf spots | Fungal disease | Improve airflow, apply fungicide |
| Drooping flowers | Heat stress or underwatering | Water deeply, provide afternoon shade |
15. Quick Success Tips for Beginners
- Choose disease-resistant varieties to reduce maintenance.
- Give roses full sun for maximum flowering.
- Prune regularly to keep plants healthy and well-shaped.
- Feed consistently for lush growth.
- Watch for pests early to prevent major infestations.
In Conclusion
Growing roses doesn’t have to be intimidating — with the right variety, proper location, and consistent care, even a beginner can enjoy vibrant blooms and heavenly fragrances all season long. Roses reward patience and attention, but they also forgive mistakes, making them a wonderful choice for new gardeners.
With this step-by-step approach, you can confidently plant, nurture, and enjoy your own rose garden — one that will bring beauty, fragrance, and joy year after year.
Leave A Comment