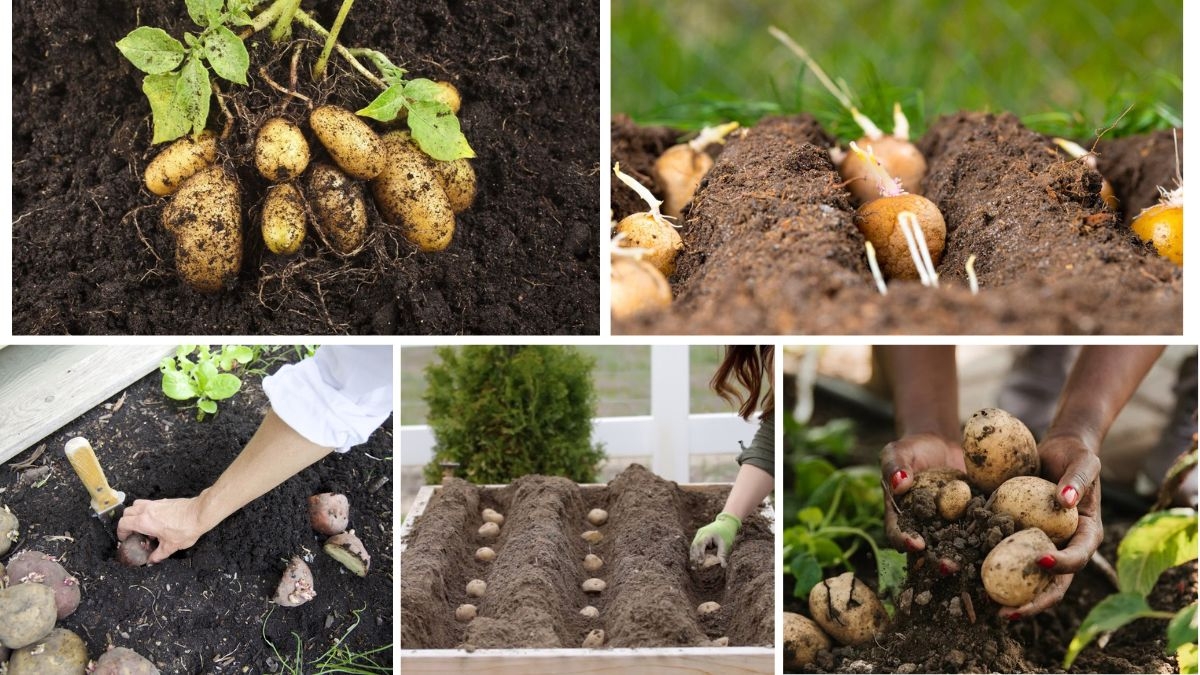
Potatoes (Solanum tuberosum) are one of the most versatile and widely consumed vegetables in the world. Whether mashed, baked, fried, or roasted, they are a kitchen staple — and the best part is, you can grow them yourself with minimal effort. Potatoes are hardy, rewarding, and fun to grow, making them a perfect choice for beginner and experienced gardeners alike.
In this guide, we’ll walk you through the entire process of growing potatoes step-by-step — from choosing the right variety to harvesting your delicious homegrown crop.
1. Why Grow Your Own Potatoes?
Growing potatoes at home offers several benefits:
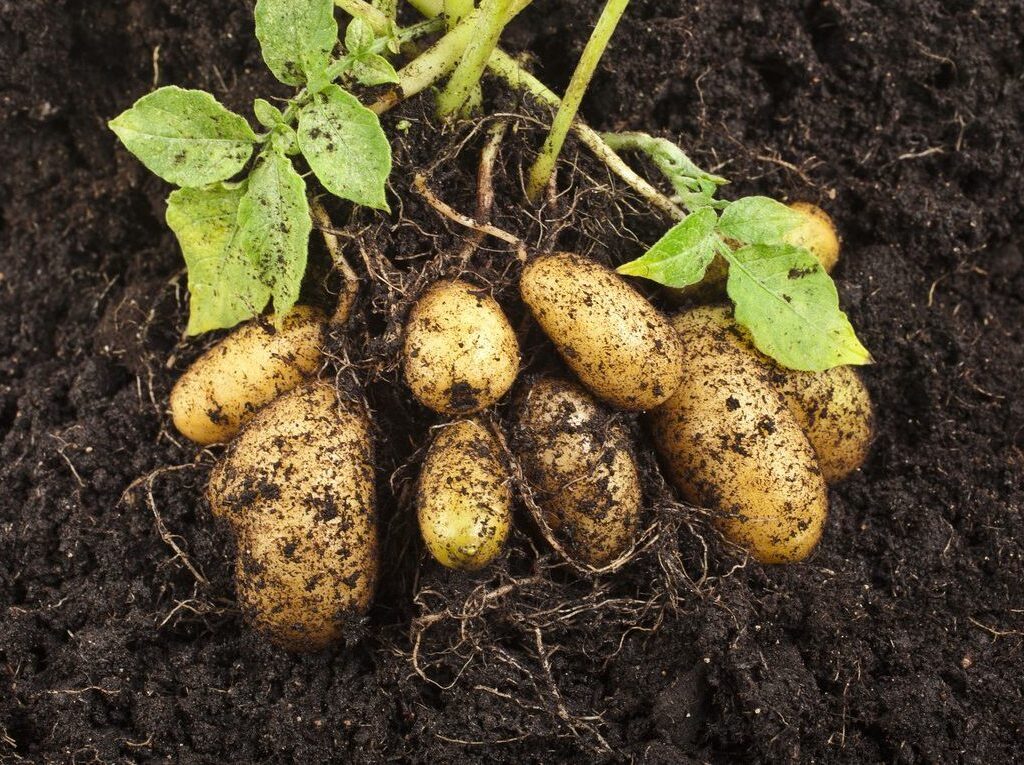
- Better Flavor: Freshly dug potatoes are sweeter and creamier than store-bought ones.
- Organic Control: You decide whether to use chemicals, ensuring healthier produce.
- Variety: You can grow unique types rarely found in supermarkets.
- Cost-Effective: One seed potato can produce multiple pounds of harvest.
Plus, potatoes are easy to grow in gardens, raised beds, and even large containers, making them adaptable to almost any space.
2. Step 1 – Choose the Right Potato Variety
Potatoes come in different types, and your choice should depend on your climate, cooking preference, and planting season.
Main Types of Potatoes:
- Early Varieties (Harvest in 60–90 days)
- Examples: ‘Rocket’, ‘Swift’, ‘Annabelle’
- Best for quick harvests and small spaces.
- Mid-Season Varieties (Harvest in 90–110 days)
- Examples: ‘Yukon Gold’, ‘Charlotte’
- Balanced flavor and good storage potential.
- Late Varieties (Harvest in 110–135 days)
- Examples: ‘Russet Burbank’, ‘King Edward’
- Larger yields, best for long storage.
Pro Tip: For continuous harvests, plant a mix of early, mid, and late varieties.
3. Step 2 – Get Seed Potatoes
Instead of planting grocery store potatoes (which may be treated to prevent sprouting), buy certified seed potatoes from a nursery or garden center. These are disease-free and give better yields.
4. Step 3 – Chit the Potatoes (Sprouting Before Planting)
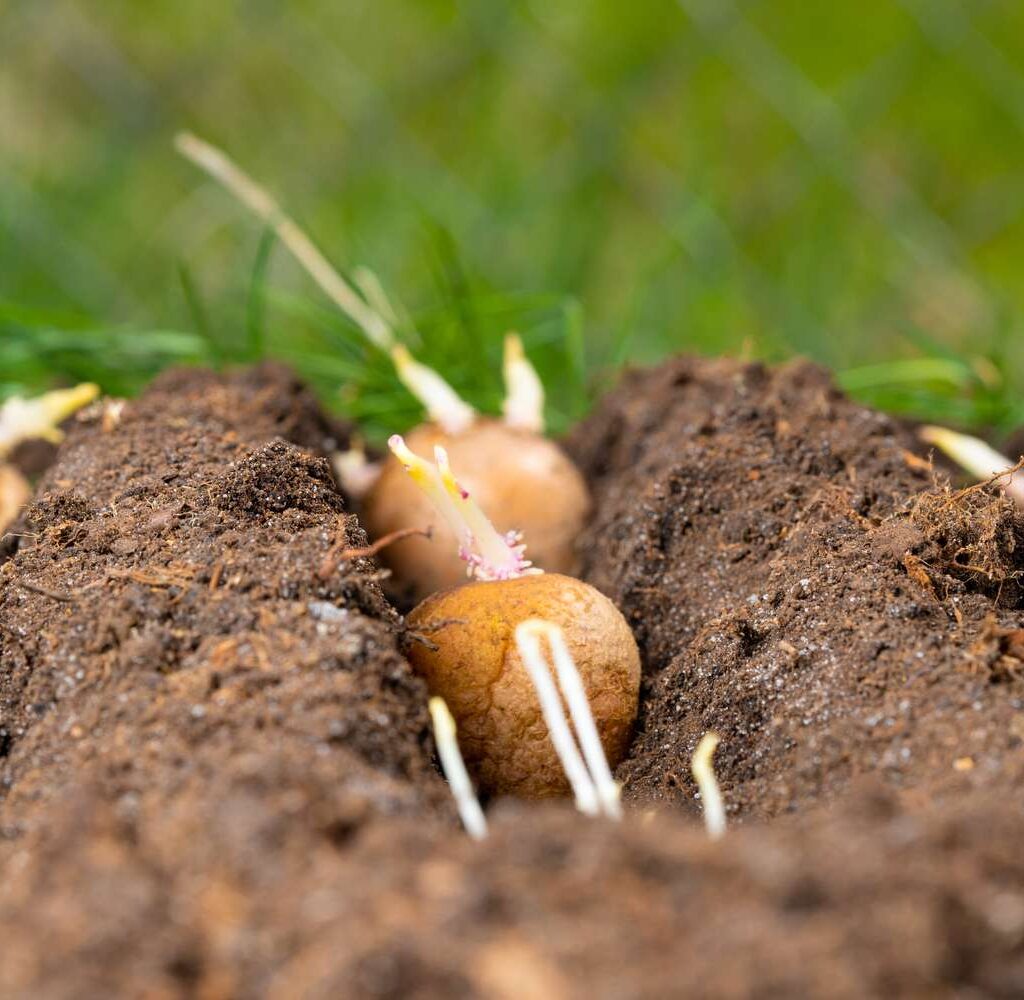
Chitting helps potatoes grow faster after planting.
How to Chit:
- Place seed potatoes in a single layer in a cool, bright room (around 50–60°F).
- Keep the “rose end” (with most eyes) facing upward.
- After 2–3 weeks, short, sturdy green sprouts should appear.
Pro Tip: Avoid long, pale sprouts — they break easily and slow growth.
5. Step 4 – Prepare the Planting Site
Potatoes love loose, well-drained, fertile soil.
Soil Preparation:
- Loosen soil to a depth of 10–12 inches.
- Remove stones and debris.
- Mix in compost or well-rotted manure for nutrients.
Soil pH: Ideal is 5.5–6.5. Slightly acidic soil helps prevent scab disease.
Light Requirement: At least 6–8 hours of full sun daily.
6. Step 5 – Plant the Potatoes
When to Plant:
- Plant 2–4 weeks before the last expected frost date in spring.
- In warmer climates, potatoes can also be grown in fall and winter.
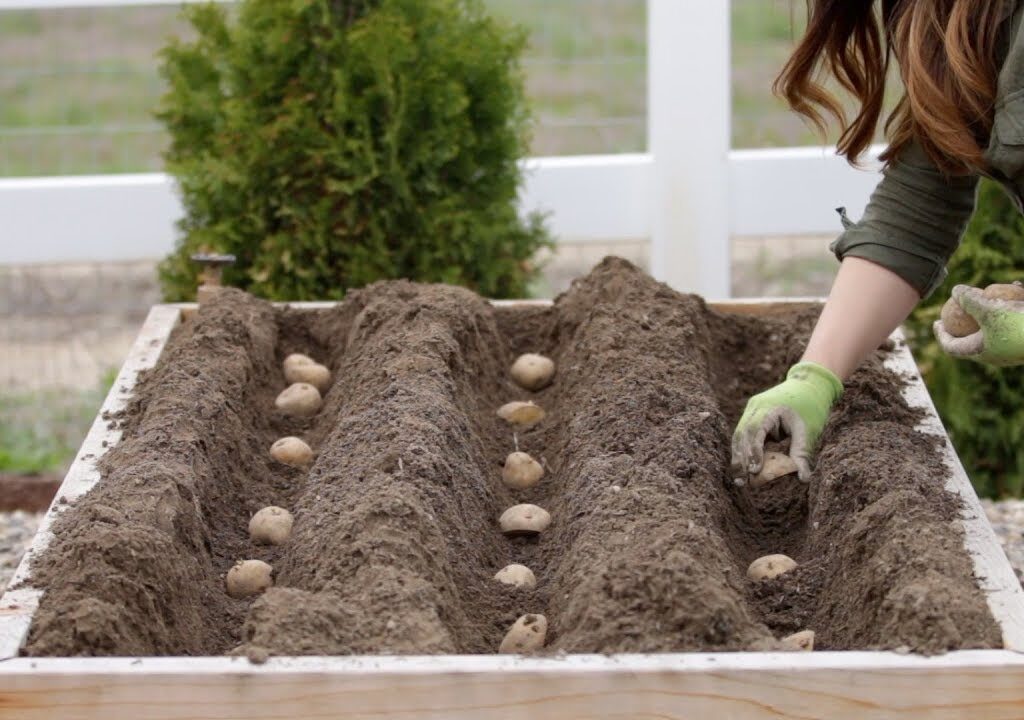
Planting in the Ground:
- Dig trenches 4–6 inches deep and 2–3 feet apart.
- Place seed potatoes sprout-side up every 12 inches.
- Cover with 4 inches of soil.
Planting in Containers or Bags:
- Use at least a 10–15 gallon container with drainage holes.
- Plant 2–3 seed potatoes in 4 inches of soil, then cover with another 4 inches.
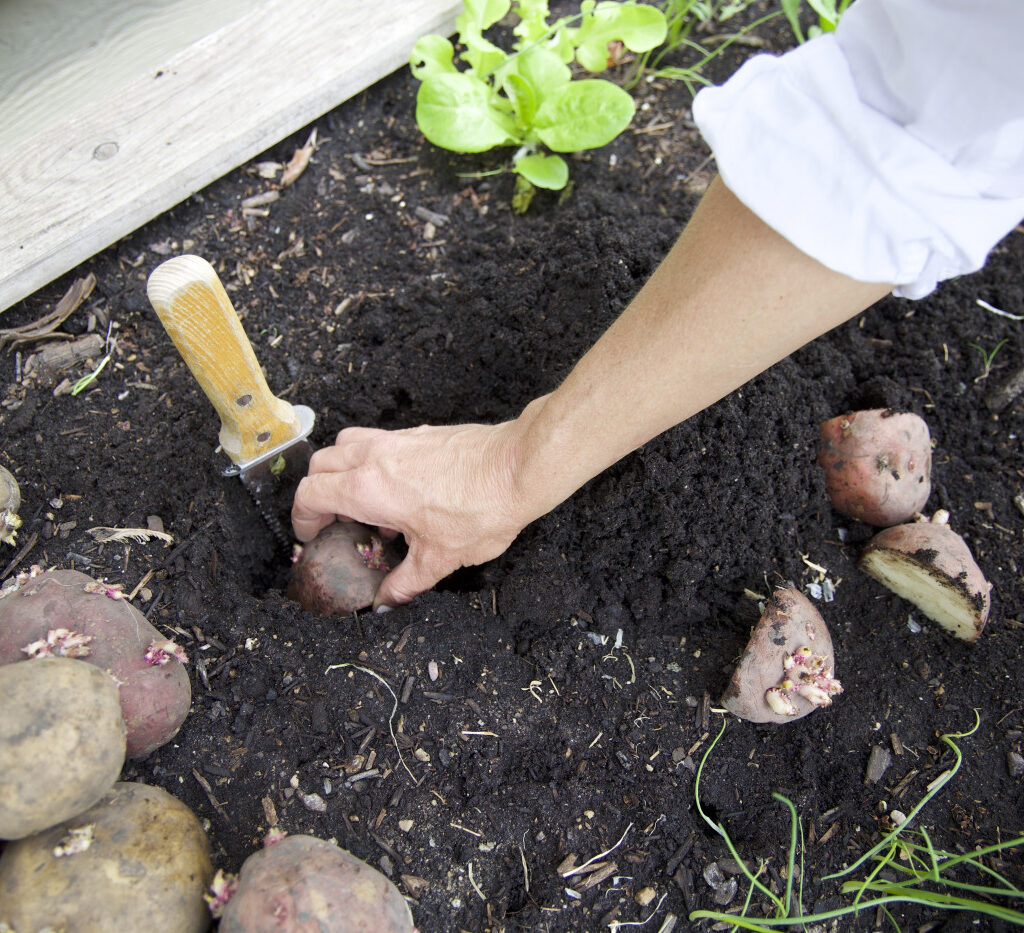
Pro Tip: Cut large seed potatoes into pieces with at least 2 eyes each, and let them dry for 1–2 days before planting to prevent rotting.
7. Step 6 – Watering the Right Way
Potatoes need consistent moisture for healthy tuber development.
Watering Tips:

- Water deeply once or twice a week.
- Keep soil evenly moist, but avoid waterlogging.
- Reduce watering when leaves start to yellow near harvest time — this helps skins firm up.
8. Step 7 – Hilling the Potatoes
Hilling is a crucial step for increasing yield and preventing greening.
How to Hill:
- When potato plants reach 6–8 inches tall, mound soil or compost around the base, covering about half the plant.
- Repeat every 2–3 weeks until plants flower.
Why Hill?
- Protects tubers from sunlight (which turns them green and toxic).
- Encourages more tubers to form along buried stems.
9. Step 8 – Feeding for Healthy Growth
Potatoes benefit from extra feeding during growth.
Fertilizer Plan:
- At planting: Mix in a slow-release organic fertilizer.
- Mid-season: Side-dress with compost or use a potassium-rich liquid fertilizer.
Pro Tip: Avoid too much nitrogen — it leads to leafy plants with fewer tubers.
10. Step 9 – Watch for Pests and Diseases
Common Pests:
- Colorado Potato Beetle: Handpick or use neem oil spray.
- Aphids: Wash off with water or use insecticidal soap.
- Wireworms: Rotate crops and avoid planting in freshly sodded ground.
Common Diseases:
- Late Blight: Remove infected plants; avoid overhead watering.
- Scab: Prevent by maintaining slightly acidic soil.
Prevention Tip: Rotate potato crops every 2–3 years to reduce disease buildup.
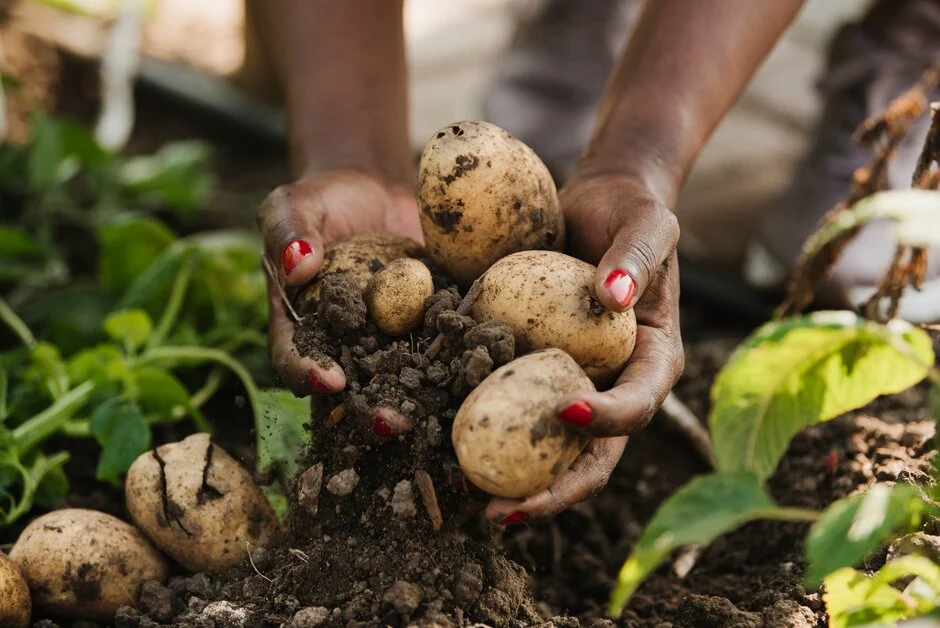
11. Step 10 – Know When to Harvest
For New Potatoes:
- Harvest 2–3 weeks after flowering, when tubers are small and tender.
For Mature Potatoes:
- Wait until foliage turns yellow and dies back.
- Gently dig up potatoes with a garden fork, being careful not to damage them.
Pro Tip: Choose a dry day for harvesting — wet soil can cause storage problems.
12. Step 11 – Curing and Storing Potatoes
Curing:
- Lay potatoes in a single layer in a cool, dark, well-ventilated place for 1–2 weeks.
- This toughens their skin for longer storage.
Storage:

- Keep in a dark, cool (40–50°F) space with good airflow.
- Avoid storing with onions — they release gases that speed spoilage.
13. Growing Potatoes in Small Spaces
If you don’t have a large garden, try:
- Grow Bags: Easy to move and harvest — just tip over the bag.
- Stackable Potato Towers: Add soil and layers as plants grow.
- Raised Beds: Perfect for loose, rich soil and easy access.
14. Common Problems and Solutions
| Problem | Cause | Solution |
|---|---|---|
| Green potatoes | Sunlight exposure | Hill soil regularly |
| Small yields | Poor soil or overcrowding | Add compost, space plants properly |
| Rotting tubers | Waterlogging | Improve drainage |
| Chewed leaves | Beetles or caterpillars | Handpick pests or use organic sprays |
15. Quick Success Tips for Beginners
- Chit Before Planting: Jump-starts growth.
- Hill Regularly: Increases yield and prevents greening.
- Water Consistently: Especially during tuber formation.
- Rotate Crops: Prevents soil-borne diseases.
- Harvest Carefully: Damaged potatoes spoil faster.
In Conclusion
Growing potatoes is a satisfying gardening project that rewards you with a delicious, versatile harvest. By following this step-by-step guide — from selecting varieties to curing and storing — you can enjoy fresh, homegrown potatoes straight from your garden or container. With just a bit of care, your potato plants will thrive, and your kitchen will be stocked with one of the most beloved vegetables in the world.
Leave A Comment