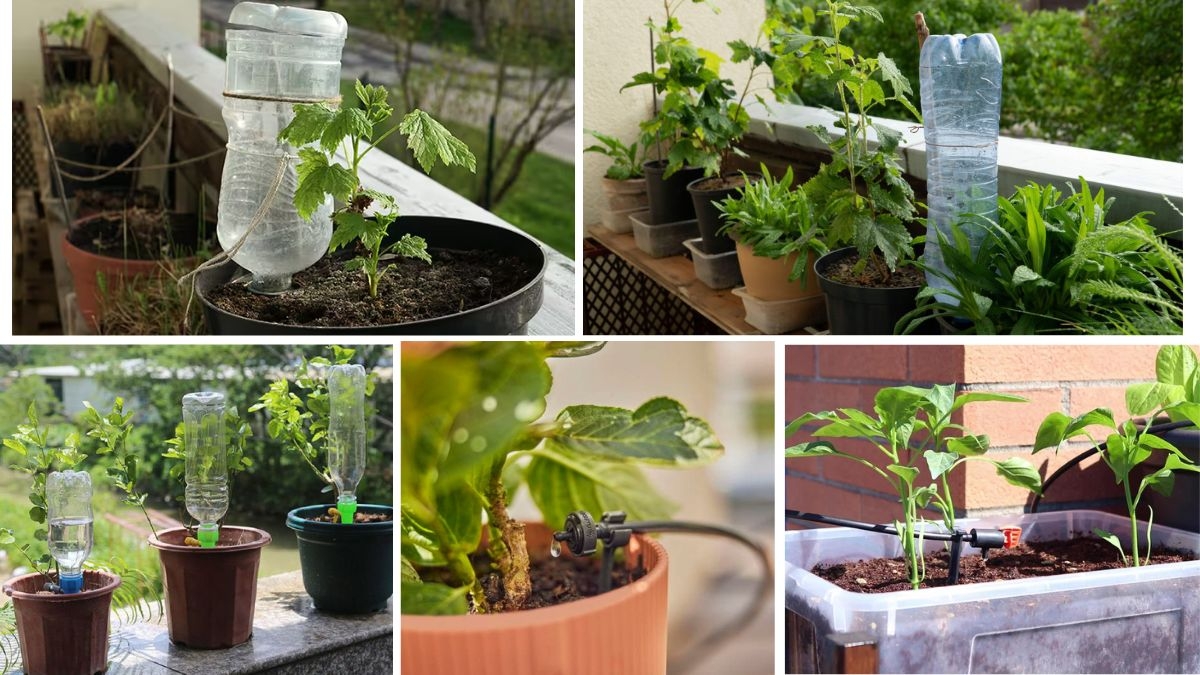
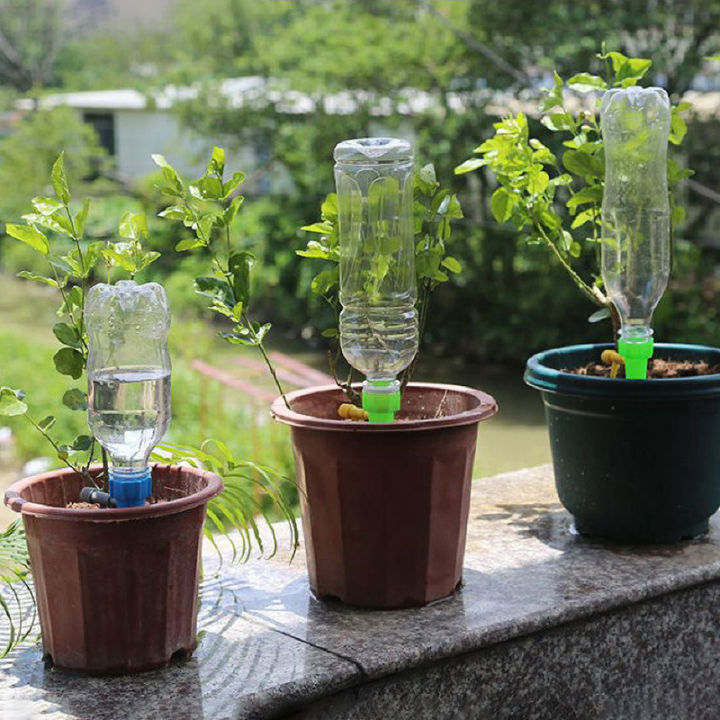
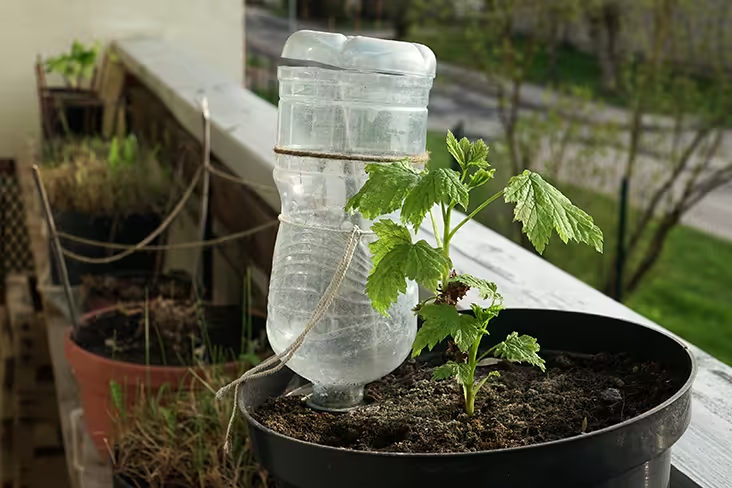
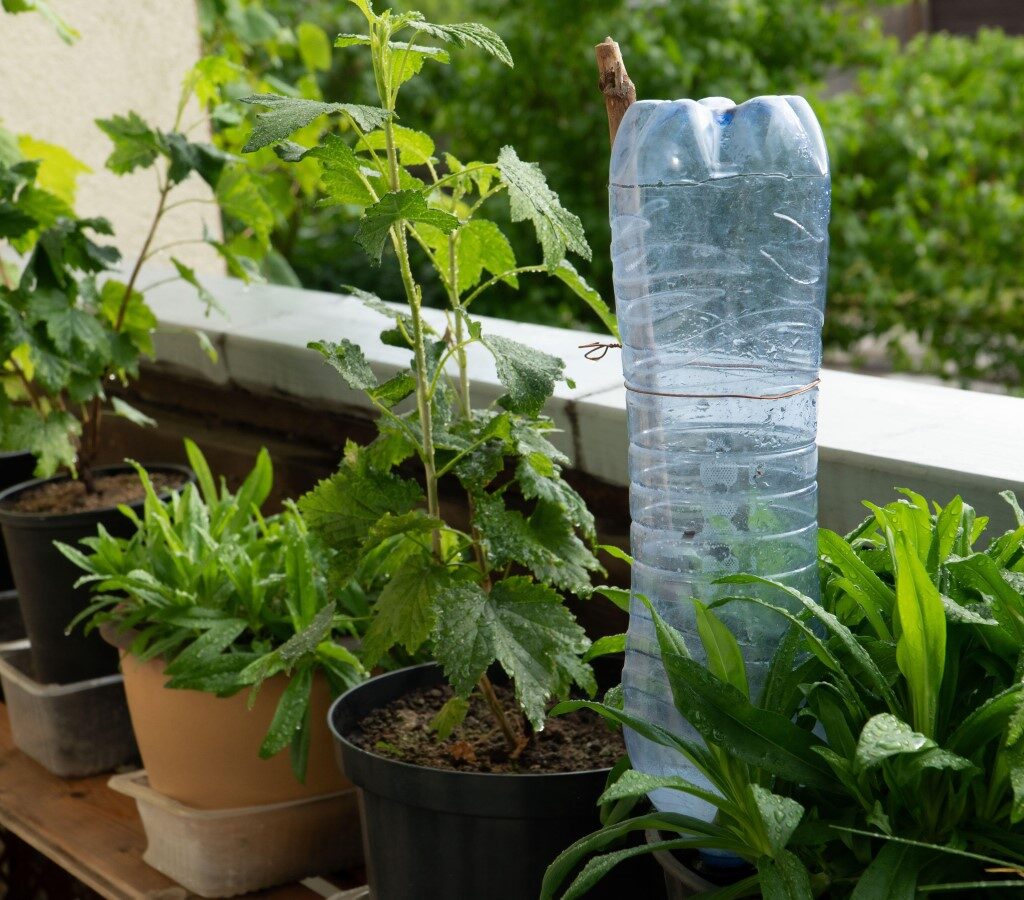
Maintaining a lush and healthy garden on your balcony can be deeply rewarding—but also quite demanding, especially when it comes to watering. Balcony plants in containers dry out faster than those in the ground and often need daily attention, especially in hot or windy conditions. If you’re looking for a practical, water-efficient, and low-maintenance solution, a DIY drip irrigation system could be the perfect answer.
Drip irrigation delivers water slowly and directly to plant roots, minimizing waste and ensuring consistent moisture levels. While commercial systems exist, building your own is affordable, customizable, and surprisingly simple. This article walks you through everything you need to know about setting up your DIY drip irrigation system for balcony plants, from materials to step-by-step instructions and maintenance tips.
Why Choose Drip Irrigation for Balcony Gardening?
Balcony gardening has unique challenges:
- Limited space
- High sun and wind exposure
- Faster soil drying in containers
- Difficulties in watering while traveling
Drip irrigation addresses all these issues by offering:
- Efficient water usage (saves up to 70% compared to hand watering)
- Time-saving automation
- Consistent hydration, reducing plant stress
- Reduced fungal problems, as foliage stays dry
- Customizable layout for any container arrangement
How a Drip Irrigation System Works
A drip irrigation system uses a network of small tubes and emitters to deliver water slowly and precisely to the base of each plant. The system typically includes:
- A main water source (tap or tank)
- A pressure reducer (optional for small systems)
- Tubing that runs across your balcony
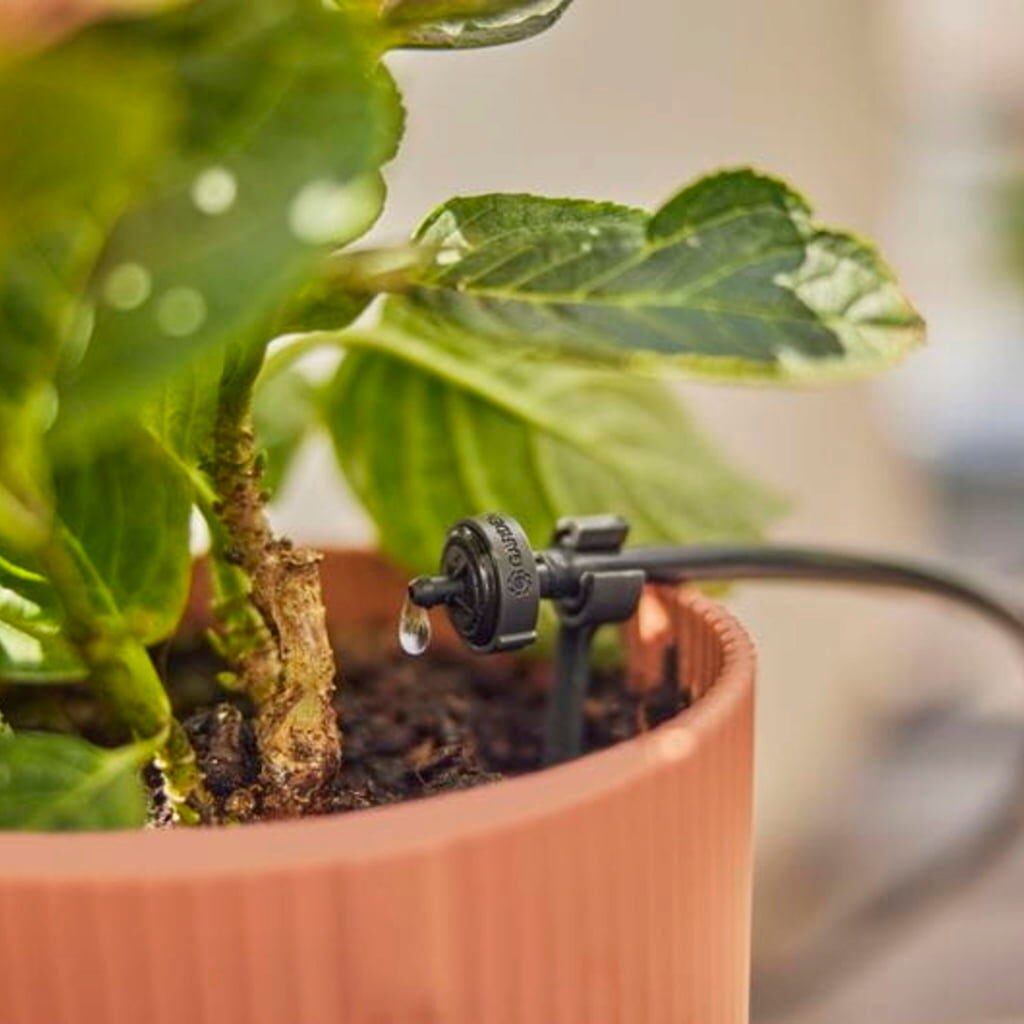
- Drippers or emitters inserted near plant roots
- Timer (optional) to automate watering
Now let’s explore how you can build your own.
Materials Needed for DIY Balcony Drip Irrigation
You can buy most of these items at local gardening stores or online:
Basic Materials:
- Water source: A tap, water tank, or gravity-fed bucket
- Mainline tubing: ½-inch or 16mm flexible polyethylene (PE) pipe
- Drip lines: ¼-inch tubing to connect to individual pots
- Drippers/emitters: 1–4 liters per hour (LPH) capacity depending on plant size
- T-connectors, elbows, end caps: For tubing connections
- Barbed connectors: To connect mainline and dripper tubing
- Punch tool: To insert holes into the mainline
- Timer (optional): For automatic watering
- Hose clamps or zip ties: To secure tubing to railing or walls
- Filter (if using tank or unfiltered water): To avoid clogging
Optional:
- Pressure regulator (for tap connections)
- Bucket or elevated tank (if no direct tap is available)
Step-by-Step Guide to Building Your DIY Drip Irrigation System
Step 1: Plan Your Layout
- Sketch your balcony and mark all the pots or containers.
- Measure the distances between them to estimate how much tubing you’ll need.
- Decide where your water source (tap or tank) will be positioned.
Step 2: Set Up the Main Water Supply
- If using a tap, attach the mainline tubing to it. Use a filter and pressure regulator if necessary.
- If using a bucket or tank, place it 3–4 feet above the plant level to allow gravity flow.
Step 3: Lay Out the Mainline Tubing
- Run the ½-inch tubing along the balcony, reaching all areas with plants.
- Use elbows to navigate corners and T-connectors to split lines.
- Secure the tubing to the wall or railing with zip ties.
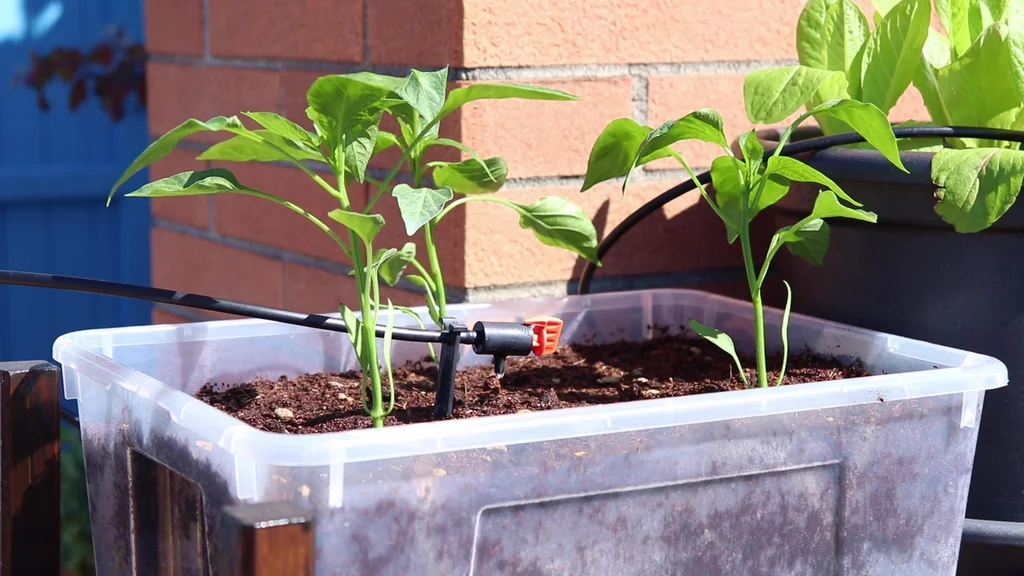
Step 4: Connect Drip Lines to Each Pot
- Punch holes in the mainline tubing near each plant using a hole punch tool.
- Insert barbed connectors into the holes.
- Attach ¼-inch tubing to each connector and run it to each plant container.
- Fix the drippers at the end of each line and place them near the plant’s root zone.
Step 5: Add End Caps and Secure the System
- Close off the end of your mainline tubing using an end cap.
- Double-check all connections and secure loose tubing to prevent tangling.
Step 6: Test the System
- Turn on the tap or open the tank valve.
- Observe the water flow and ensure that each dripper is releasing water correctly.
- Adjust or unclog any emitters that aren’t working properly.
Step 7: (Optional) Install a Timer
- Attach an irrigation timer between the tap and the tubing.
- Set it to water early in the morning or evening for best results.
Tips for Customizing Your Drip System
- Use adjustable drippers for larger plants that require more water.
- Add inline shut-off valves to sections of the system if you need to control water to specific zones.
- If using a gravity-fed system, keep tubing lengths short and use low-flow emitters for better pressure.
Maintaining Your Drip Irrigation System
Regular maintenance ensures your system runs smoothly throughout the growing season:
- Clean the filter weekly to prevent clogs.
- Flush the tubing every 2–3 weeks to clear out debris.
- Inspect emitters for blockages or salt buildup, especially if using hard water.
- Check for leaks or disconnected pipes after storms or windy days.
- Replace damaged tubing or fittings as needed.
Eco-Friendly and Cost-Effective Gardening
One of the greatest benefits of DIY drip irrigation is its environmental impact. You conserve water while keeping plants healthy, and you reduce your carbon footprint by avoiding electric pumps or sprinklers.
Cost breakdown (approximate for a small balcony system):
- Mainline tubing: ₹300
- Drip tubing: ₹200
- Drippers (10–15): ₹150
- Connectors and fittings: ₹100
- Timer (optional): ₹600–1000
- Total: ₹750–₹1500 depending on setup
This one-time investment can save you hours of manual watering, lower your water bill, and improve plant health significantly.
Benefits of a Balcony Drip Irrigation System
| Benefit | Description |
|---|---|
| Water Efficiency | Delivers water directly to the roots, minimizing evaporation. |
| Time-Saving | No need to hand-water daily. Great for busy lifestyles. |
| Plant Health | Consistent watering prevents stress, root rot, and diseases. |
| Customizable | Easily adaptable to plant growth, new pots, or seasonal changes. |
| Automation Ready | With a timer, it becomes a hands-off, self-sustaining system. |
Conclusion
A DIY drip irrigation system is an excellent solution for balcony gardeners who want to combine convenience, sustainability, and plant care. It’s easy to install, budget-friendly, and suitable for beginners and experts alike. Whether you’re nurturing herbs, flowers, vegetables, or ornamental plants, a drip system ensures that each drop of water counts—making your balcony garden more beautiful, efficient, and thriving even in the hottest months.
Leave A Comment