
Hydrangeas are one of the most cherished flowering shrubs in the world, known for their lush, oversized blooms in shades of blue, pink, white, and purple. Found gracing home gardens, parks, and public landscapes, these versatile plants thrive in various climates and can be grown as hedges, foundation plantings, or standalone accents. While hydrangeas are admired for their beauty, achieving abundant, vibrant blooms requires careful attention to planting techniques, soil preparation, and ongoing care.
If you’re eager to fill your garden with flourishing hydrangea blooms, understanding the right way to plant them is the key to success. In this comprehensive guide, we’ll walk you through everything you need to know about planting hydrangeas — from selecting the ideal location to choosing the perfect soil mix and mastering essential care practices.
Why Proper Planting Matters for Hydrangeas
Hydrangeas are relatively hardy and forgiving plants, but their bloom performance is heavily influenced by planting conditions. Incorrect planting depth, poor soil preparation, or unfavorable locations can stunt growth, reduce flowering, and even damage the plant.
By providing optimal conditions at the time of planting, you’re setting your hydrangeas up for a lifetime of healthy growth and abundant seasonal blooms.
Types of Hydrangeas to Consider
Before planting, it’s helpful to know the different hydrangea types, as each has unique characteristics:
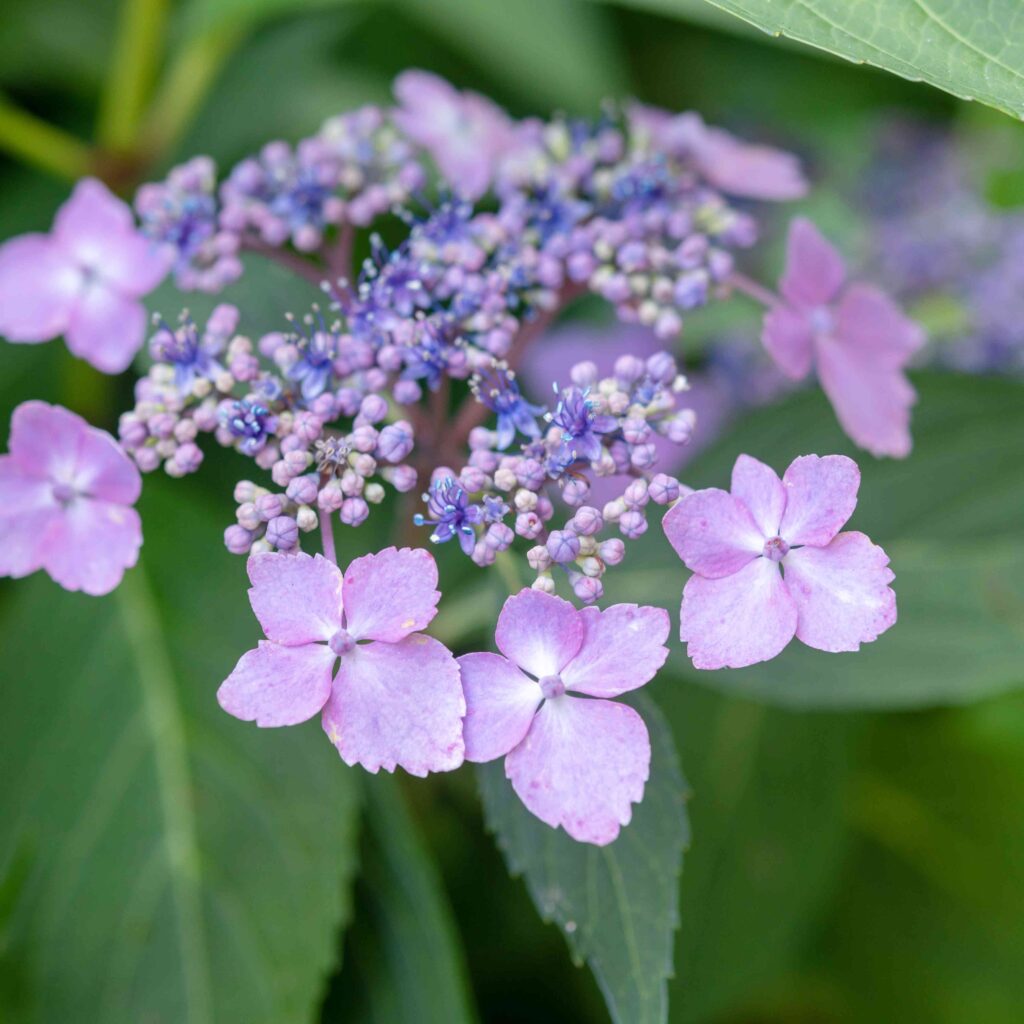
- Bigleaf Hydrangea (Hydrangea macrophylla): Known for their mophead and lacecap blooms. Flower color can change based on soil pH.
- Panicle Hydrangea (Hydrangea paniculata): Tolerates more sun; features cone-shaped blooms that turn pink as they age.
- Smooth Hydrangea (Hydrangea arborescens): Noted for large white flower clusters, like the ‘Annabelle’ variety.
- Oakleaf Hydrangea (Hydrangea quercifolia): Distinctive oak-shaped leaves and cone-shaped flower clusters, turning rich colors in fall.
- Climbing Hydrangea (Hydrangea petiolaris): A woody vine producing white lacecap flowers.
Understanding your plant type helps tailor planting decisions like location and soil amendments.

Best Time to Plant Hydrangeas
The ideal time to plant hydrangeas is early spring or fall:
- Spring Planting: Best done after the last frost when the soil is workable and temperatures are mild.
- Fall Planting: Should be done at least 6 weeks before the first expected frost, allowing roots to establish before winter dormancy.
Avoid planting in extreme heat or freezing conditions, as young plants are sensitive to temperature extremes.
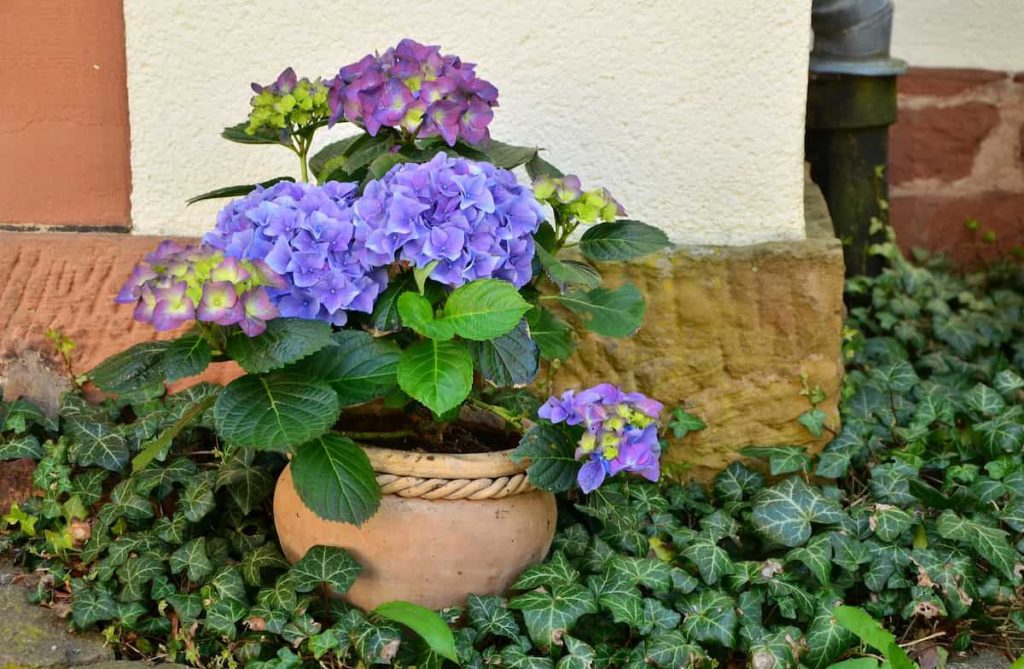
Choosing the Right Location
Hydrangeas thrive in locations offering:
- Morning Sun and Afternoon Shade: Especially important for bigleaf and oakleaf hydrangeas. Panicle varieties can tolerate more sunlight.
- Sheltered from Harsh Winds: Protects delicate blooms and prevents dehydration.
- Good Air Circulation: Reduces the risk of fungal diseases.
Position plants so mature hydrangeas won’t be crowded, allowing them to spread naturally without competing for nutrients.
Preparing the Soil

Soil quality is one of the most crucial factors for hydrangea success. Here’s how to prepare it:
Ideal Soil Conditions
- Well-draining, fertile soil enriched with organic matter.
- pH level:
- 5.2–5.5 for blue blooms.
- 6.0–6.2 for pink blooms.
- Test your soil using a home testing kit and amend accordingly.
Soil Amendment Tips
- For acidic soil (blue flowers): Add aluminum sulfate or peat moss.
- For alkaline soil (pink flowers): Mix in garden lime.
Incorporate organic compost, leaf mold, or well-rotted manure to improve texture, drainage, and nutrient content.

How to Plant Hydrangeas: Step-by-Step
Follow this planting process for healthy hydrangeas with abundant blooms:
1. Digging the Planting Hole
- Dig a hole twice as wide and as deep as the plant’s root ball.
- Loosen soil at the bottom and sides to help roots establish easily.
2. Preparing the Plant
- Remove the hydrangea from its container, gently loosening the roots if pot-bound.
- If planting a bare-root hydrangea, soak it in water for 2 hours before planting.
3. Placing the Plant
- Set the plant in the hole so the top of the root ball is level with the surrounding soil.
- Avoid planting too deep, which can suffocate roots.
4. Backfilling
- Backfill the hole with a mix of native soil and organic compost.
- Gently tamp down the soil to eliminate air pockets.
5. Watering
- Water thoroughly immediately after planting.
- Keep the soil consistently moist (but not waterlogged) during the first growing season.
Post-Planting Care for Better Blooms
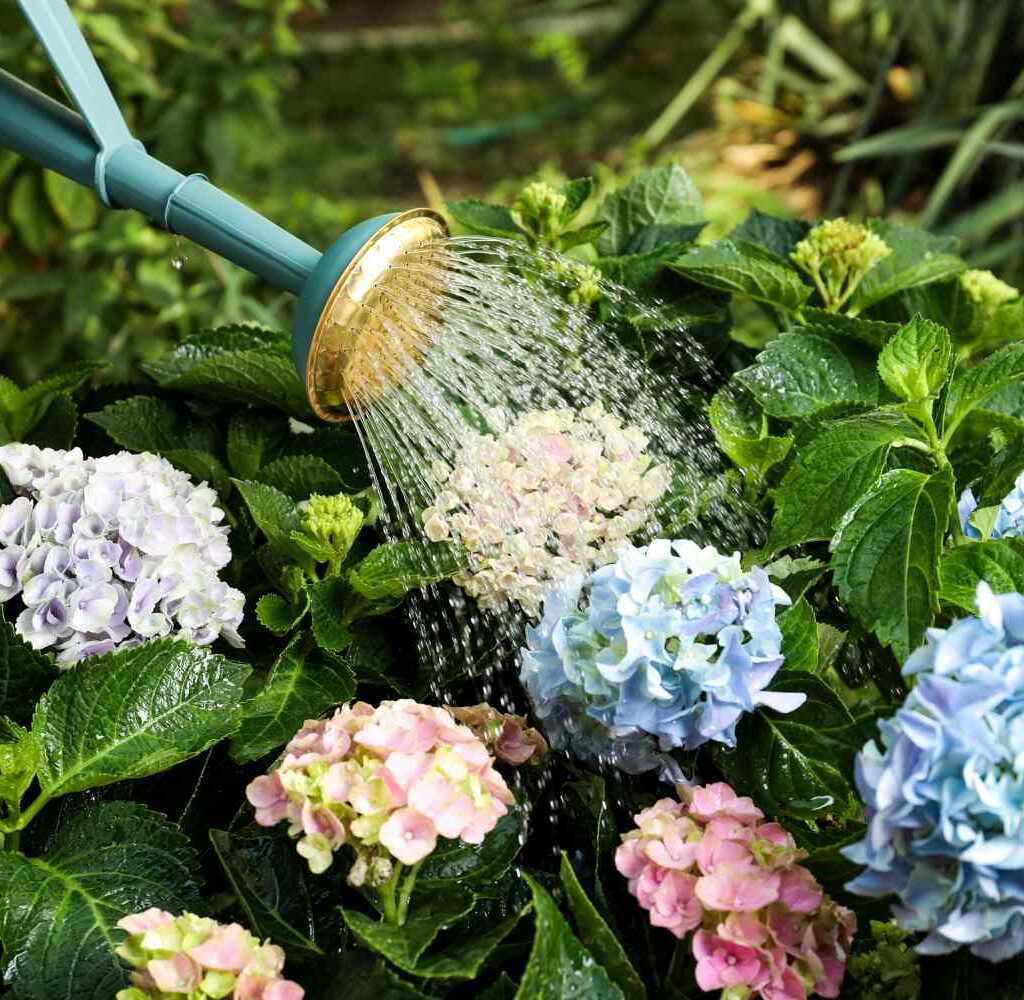
Watering
- Hydrangeas need regular watering, especially during hot or dry periods.
- Aim for 1 inch of water per week, preferably in the morning.
- Deep watering encourages deep root growth.
Mulching
- Apply a 2-3 inch layer of organic mulch (pine bark, wood chips, or leaf mold) around the base.
- Mulch retains moisture, regulates soil temperature, and prevents weeds.
Fertilizing
- Fertilize in early spring with a balanced, slow-release fertilizer like 10-10-10.
- Avoid high-nitrogen fertilizers that promote leafy growth at the expense of blooms.
- Optionally, a mid-season phosphorus-rich fertilizer can boost flower production.
Pruning for More Blooms
Pruning methods vary based on the hydrangea type:
- Bigleaf and Oakleaf Hydrangeas: Bloom on old wood. Prune immediately after flowering in summer.
- Panicle and Smooth Hydrangeas: Bloom on new wood. Prune in late winter or early spring before new growth appears.
- Climbing Hydrangeas: Require minimal pruning. Remove dead or damaged wood after blooming.
Proper pruning removes deadwood, shapes the plant, and stimulates fresh growth and bloom production.
Protecting Hydrangeas in Winter
In colder regions:
- Add extra mulch (4-5 inches) around the base in late fall.
- Cover plants with burlap or frost cloth to protect flower buds, especially for bigleaf varieties sensitive to frost.
Common Planting Mistakes to Avoid
- Planting in full sun (for shade-preferring varieties) leads to scorched leaves and poor blooms.
- Overcrowding reduces air circulation and bloom production.
- Neglecting soil pH adjustment affects bloom color and vitality.
- Overwatering or poor drainage causes root rot.
Being mindful of these pitfalls ensures long-term hydrangea health.
Conclusion
Planting hydrangeas with care and attention to detail is essential for achieving abundant, colorful blooms. From selecting the right location and preparing the soil to mastering post-planting care, every step plays a critical role in your hydrangea’s success.

Remember to:
- Plant in early spring or fall.
- Choose a partially shaded, sheltered spot.
- Prepare well-draining, fertile, pH-adjusted soil.
- Water deeply and mulch generously.
- Prune according to hydrangea type and fertilize wisely.
By following these guidelines, you’ll transform your garden into a vibrant display of hydrangea blooms season after season — a true reward for any plant lover.
Leave A Comment