Snake plants (Sansevieria trifasciata), also known as mother-in-law’s tongue, are hardy, low-maintenance houseplants admired for their upright sword-like leaves and air-purifying qualities. Propagating snake plants from leaf cuttings is one of the easiest and most rewarding ways to expand your indoor garden. Whether you’re a beginner or an experienced plant enthusiast, growing a lush snake plant from a single leaf cutting is entirely possible with the right approach.
In this guide, you’ll learn everything you need to know—from choosing a healthy leaf to rooting and caring for your new plant.
Why Propagate Snake Plants?
Before diving into the step-by-step process, it’s important to understand why propagation is a great option:
- Affordable: One plant can yield multiple new ones.
- Simple: Requires minimal tools and expertise.
- Satisfying: Watching a new plant grow from a single leaf is incredibly rewarding.
- Ideal for gifting: Snake plants are stylish, easy-care gifts for friends and family.
Tools and Materials You’ll Need
To get started, gather the following supplies:
- A healthy, mature snake plant
- A clean, sharp knife or pruning shears
- Small pots or containers
- Fresh potting mix (well-draining cactus or succulent soil)
- Rooting hormone (optional)
- Water spray bottle
- Clear plastic bag or humidity dome (optional)
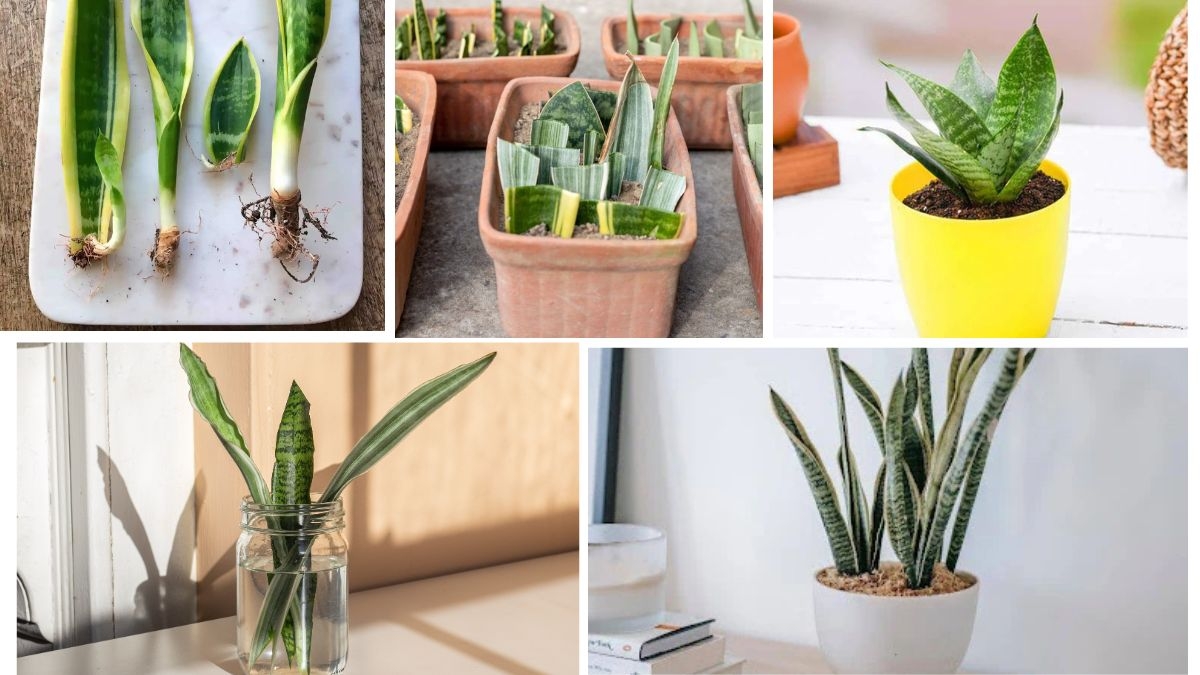
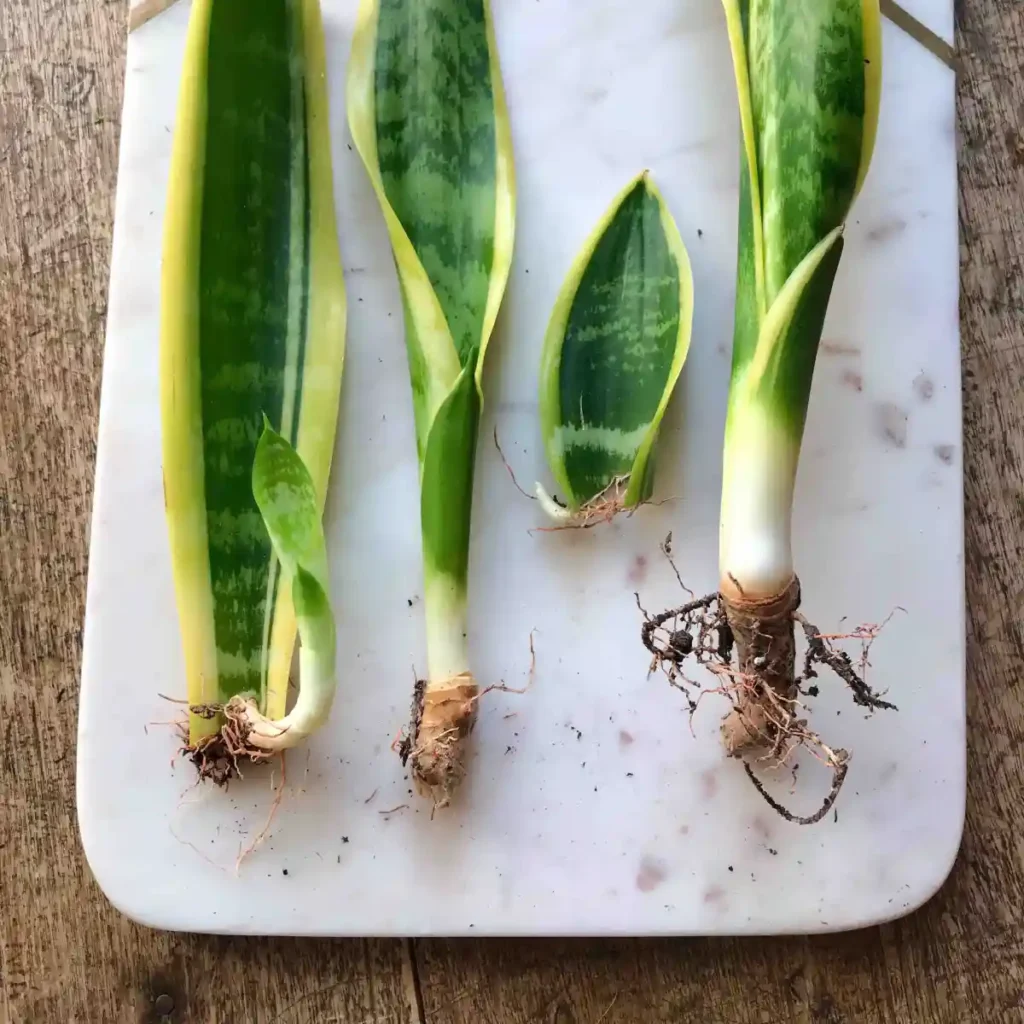
Step 1: Choose a Healthy Leaf
Start by selecting a mature, unblemished leaf from your snake plant. Look for leaves that are thick, green, and free of any signs of disease or pests. Avoid young or yellowing leaves, as they may not root as effectively.
Pro Tip:
Choose leaves from the outermost part of the plant—these are usually more established and stronger.
Step 2: Cut the Leaf Properly
Using your clean knife or shears, cut the selected leaf close to the base of the plant. Then, cut the leaf into 3–4 inch sections. Be sure to remember which side was the bottom (the part that was closer to the roots), as planting the wrong end will prevent rooting.
To help remember, you can make a small notch at the bottom end of each segment.

Step 3: Allow the Cuttings to Callous
After cutting, let the leaf sections dry for 1–3 days in a warm, shaded location. This drying process helps the cut ends form a callous, which prevents rotting when planted in soil.
Step 4: (Optional) Dip in Rooting Hormone
While not strictly necessary, dipping the calloused end of each leaf section into rooting hormone powder can speed up the rooting process and increase success rates.
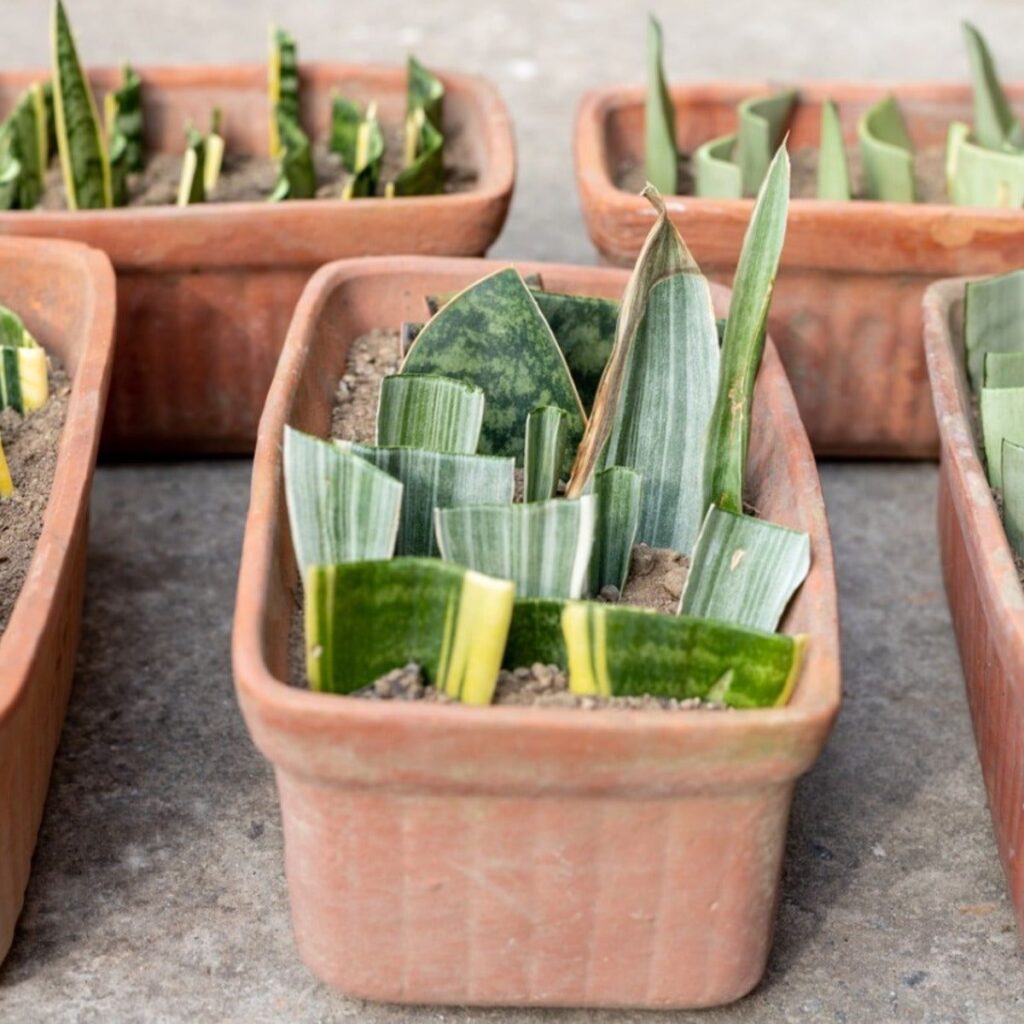
Step 5: Plant the Cuttings
Fill small pots with a well-draining potting mix. Snake plants hate soggy roots, so a cactus or succulent mix is ideal. Insert each leaf cutting (bottom side down) about 1–2 inches into the soil.
Water lightly to settle the soil, but don’t drench it.
Step 6: Create the Ideal Environment
Place your pots in a warm area with bright, indirect light. Avoid direct sunlight as it may stress the cuttings. Maintain a temperature range between 65°F to 85°F (18°C to 29°C).
For higher humidity, you can loosely cover the pots with a clear plastic bag or place them under a humidity dome—just ensure there’s airflow to prevent mold.
Step 7: Watering and Patience
One of the biggest mistakes is overwatering. Snake plant cuttings are prone to rot if kept too wet. Water only when the top inch of the soil feels dry—typically every 1–2 weeks.
Over the next 4–8 weeks, roots will begin to form. Be patient, as snake plants are slow growers. You may not see much activity on the surface, but underground, roots are taking shape.

Step 8: Check for Roots
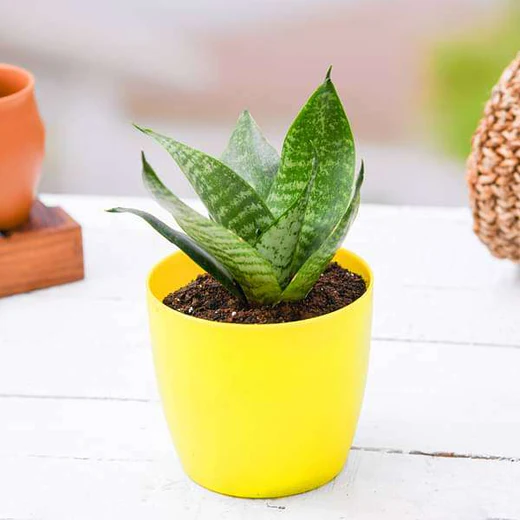
After about a month, gently tug on a cutting. If you feel resistance, that’s a sign that roots have developed. At this stage, your new plant may also start producing small shoots or “pups” from the base.
Once roots are established, you can transplant the cutting into a slightly larger pot if needed.
Step 9: Encourage New Growth
To encourage lush, bushy growth:
- Provide consistent but moderate watering.
- Keep the plant in bright, indirect sunlight.
- Fertilize lightly during the growing season (spring to early fall) with a diluted cactus or houseplant fertilizer every 4–6 weeks.
- Avoid over-fertilizing as it can damage the roots.
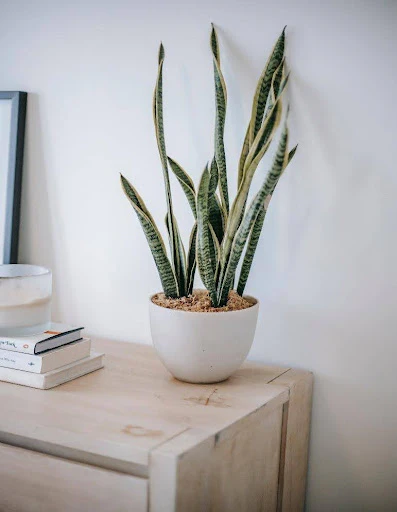
As new leaves grow, your propagated plant will take on the iconic upright structure snake plants are known for.
Common Mistakes to Avoid
1. Planting the Wrong End
This is a common beginner error. Make sure the bottom of the leaf cutting (the end originally attached to the base) is planted in the soil.
2. Skipping the Callous Stage
Planting fresh cuttings without letting them callous increases the chance of rotting.
3. Overwatering
This is the number one killer of propagated snake plants. Less is more when it comes to watering.
4. Using Poor Soil
Heavy, moisture-retaining soil suffocates roots. Always use a fast-draining mix.

5. Lack of Light
Too little light can result in slow or no growth. While snake plants are tolerant of low light, propagation requires brighter conditions.
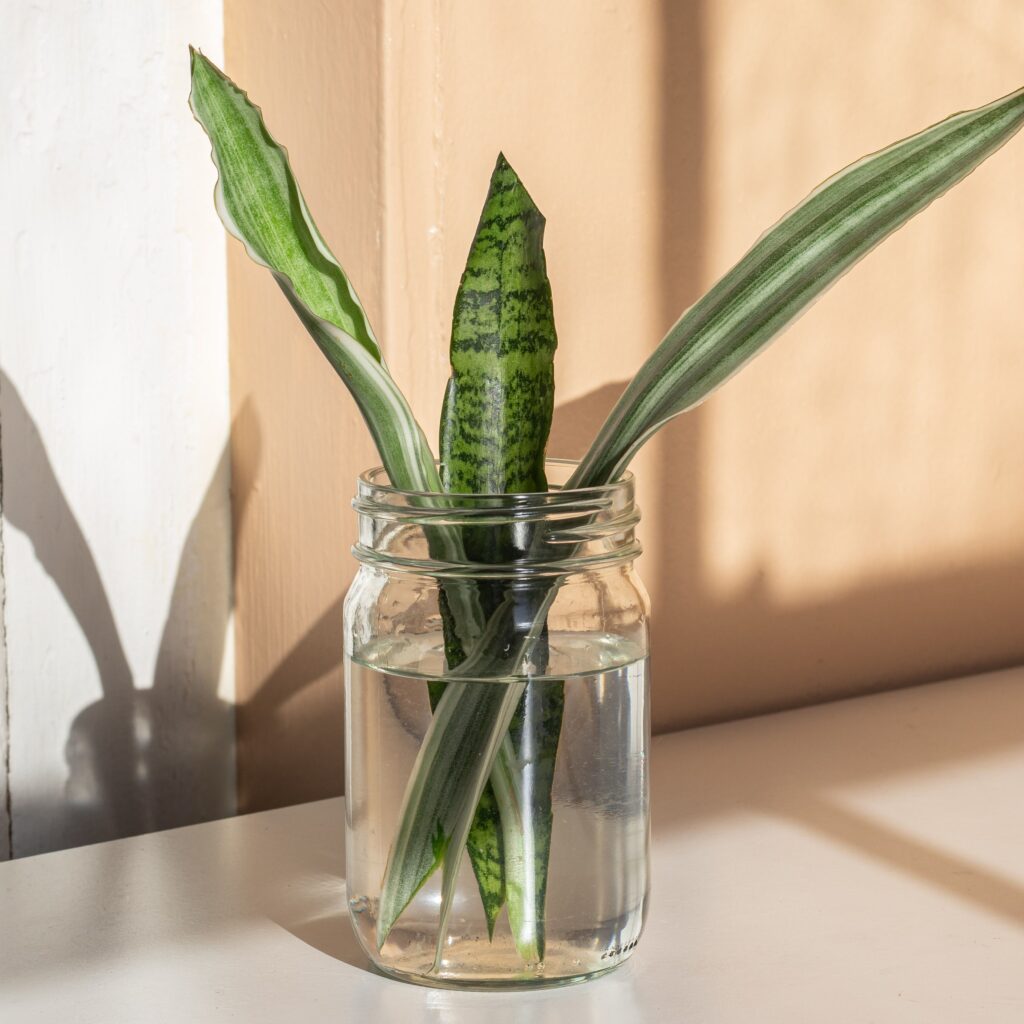
Bonus: Water Propagation Method
Alternatively, you can root your leaf cuttings in water:
- Place the cuttings (bottom side down) in a glass of water, ensuring only 1–2 inches of the leaf is submerged.
- Change the water every 3–5 days to prevent bacterial growth.
- Place the glass in a warm spot with bright, indirect light.
- Once roots are a few inches long, transplant the cuttings into soil.
This method allows you to watch the roots grow, but transitioning to soil can be tricky, so do it gently.
Conclusion
Growing a lush snake plant from a leaf cutting is a rewarding experience that requires little effort and offers big results. With patience, proper care, and attention to detail, you can turn a single leaf into a thriving indoor plant.
This propagation method not only saves money but also makes a meaningful and sustainable way to share plants with others. So, the next time you admire your snake plant, consider snipping a leaf and starting your own propagation journey.
Happy planting!
Leave A Comment