Growing sweet potatoes is incredibly rewarding, but many beginners are unsure about one of the most important steps in the process—harvesting. If you’re new to sweet potato gardening, don’t worry. This comprehensive guide will walk you through everything you need to know about harvesting sweet potatoes the right way. From identifying the perfect time to harvest, to the right tools and techniques, curing methods, and common mistakes to avoid—this article has it all.
Why Harvesting Sweet Potatoes Correctly Matters
Sweet potatoes (Ipomoea batatas) are not only delicious and nutritious, but they’re also relatively easy to grow. However, improper harvesting can damage the tubers, reduce their storage life, or lead to loss of flavor and texture. Knowing how and when to harvest ensures you get the highest quality yield from your garden.
1. Know When to Harvest Sweet Potatoes
Timing is crucial. Sweet potatoes are typically ready to harvest 90 to 120 days after planting, depending on the variety and growing conditions. Here’s how to tell they’re ready:
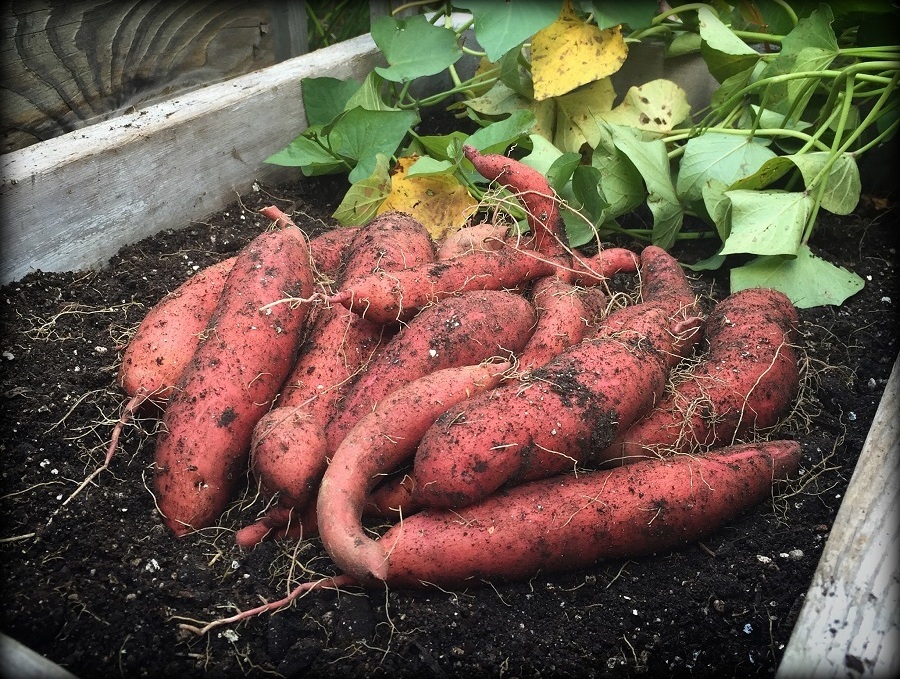
- Yellowing Leaves: The most common sign that it’s time to harvest is when the leaves and vines start turning yellow and begin to die back.
- Maturity Timeline: If you marked your planting date, start checking around the 90-day mark for signs of maturity.
- Soil Temperature: Wait until soil temperatures are consistently above 55°F (13°C) but harvest before the first frost. Cold soil can damage the tubers.
Pro Tip: Sweet potatoes don’t ripen like some fruits, so leaving them in the ground too long may result in rot or pest damage.
2. Prepare the Soil Before Harvesting
A few days before harvesting, stop watering your plants. This helps the soil dry out, making it easier to dig and reduces the risk of bruising the tubers.

- Loosen the Soil: Use a garden fork or spade to gently loosen the soil around the plants.
- Clear the Area: Remove any weeds or debris that might get in the way.
3. Tools You’ll Need
Using the right tools helps you avoid damaging the sweet potatoes. Here’s what you need:
- Garden Fork or Spade: For gently loosening the soil.
- Pruners or Shears: To cut back vines.
- Gardening Gloves: To protect your hands during the process.
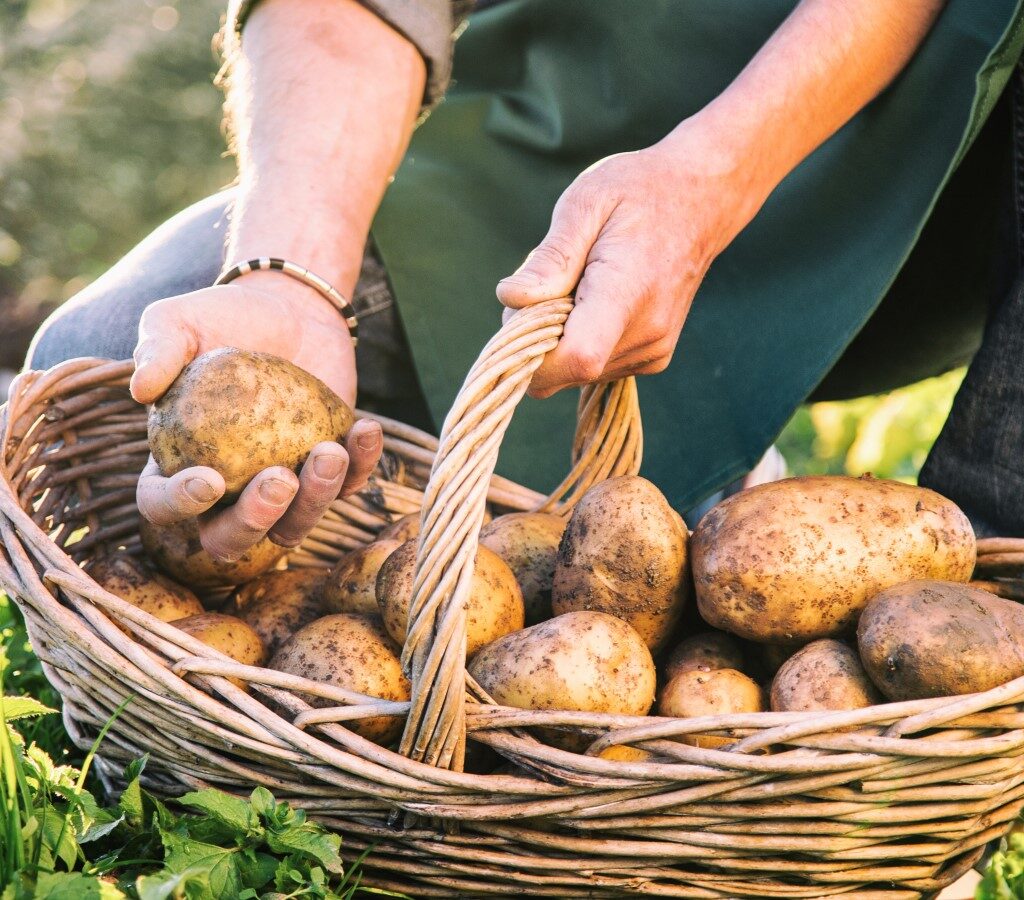
- Buckets or Baskets: For collecting the harvested tubers.
4. How to Harvest Sweet Potatoes Safely
Sweet potatoes are delicate despite their rough exterior. Follow these steps:
- Cut Back the Vines: Use pruners to trim the vines back to a few inches above the soil.
- Start Digging: Begin digging at least 12–18 inches away from the plant’s crown to avoid stabbing the tubers.
- Lift Gently: Use your hands to remove each tuber carefully. Tugging or rough handling can lead to bruising or cuts.
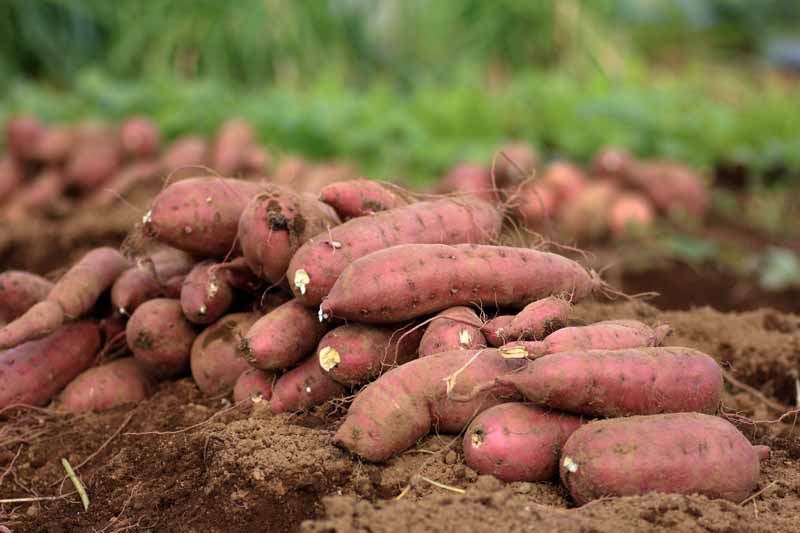
- Brush Off Soil: Gently brush off excess soil—do not wash the tubers at this stage.
Important: Avoid exposing harvested sweet potatoes to direct sunlight for extended periods as this can cause sunscald.
5. Curing Sweet Potatoes: Why It’s Essential
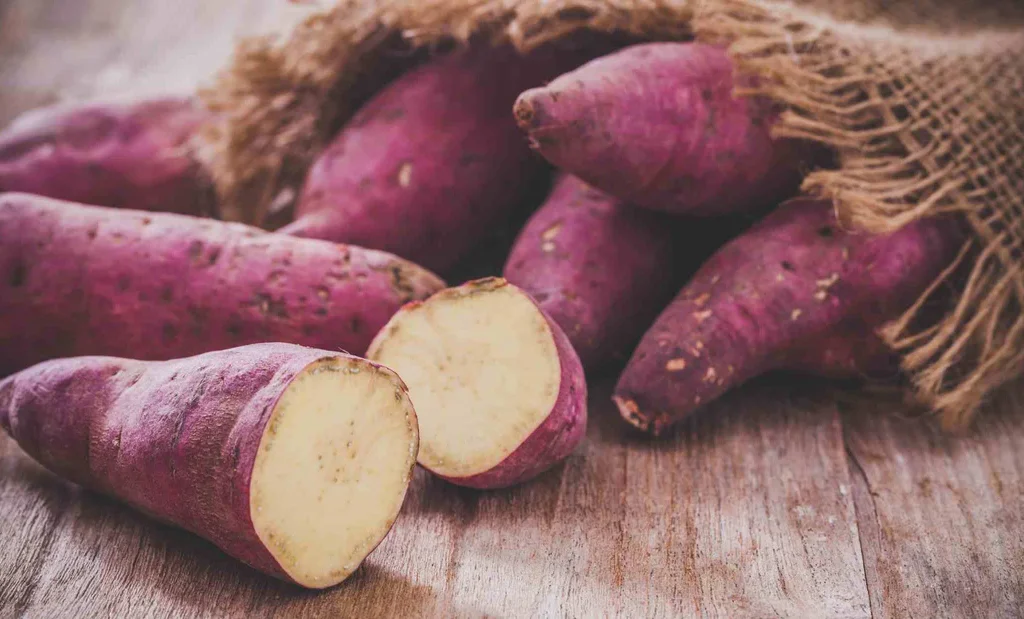
Curing is the process of healing small wounds and toughening the skin. It also helps convert starches into sugars, enhancing sweetness and shelf-life.
- Temperature: Cure sweet potatoes in a warm area with temperatures between 80–85°F (27–29°C).
- Humidity: Maintain high humidity—ideally around 85–90%.
- Duration: Cure for 7–10 days.
DIY Tip: You can cure your sweet potatoes by placing them in a warm bathroom, greenhouse, or insulated box with a heat lamp and damp towels.

6. Storing Sweet Potatoes for Longevity
Once cured, sweet potatoes can be stored for months under the right conditions.
- Storage Temperature: Keep them in a cool, dark place around 55–60°F (13–16°C).
- Avoid Refrigeration: Cold temperatures can negatively affect flavor and texture.
- Storage Container: Use wooden crates, paper bags, or cardboard boxes lined with newspaper to prevent excess moisture build-up.
Regularly check for signs of rot or sprouting and remove affected tubers to prevent the spread.
7. Common Mistakes to Avoid
Even seasoned gardeners can make harvesting mistakes. Here’s what to watch out for:
- Harvesting Too Early: Immature sweet potatoes are small and lack flavor. Wait until the vines show signs of dieback.
- Rough Handling: Bruises and cuts reduce shelf life. Be gentle when digging and handling.
- Washing Before Storage: Water can introduce rot. Always cure first, then wash before eating or cooking.
- Ignoring the Weather: A sudden frost can ruin your crop. Plan ahead and harvest before freezing temperatures hit.
- Skipping the Cure: Uncured sweet potatoes have a shorter shelf life and bland taste.
8. Tips for Maximizing Your Yield
Want a bigger and better harvest next season? Keep these pro tips in mind:
- Mulch the Beds: It keeps the soil warm and retains moisture.
- Rotate Crops: Don’t plant sweet potatoes in the same spot every year to avoid soil-borne diseases.
- Fertilize Wisely: Use low-nitrogen, high-potassium fertilizers to encourage tuber growth.
9. What to Do with Damaged Tubers

Sometimes you’ll accidentally nick or cut a few tubers. Don’t toss them out!

- Use Quickly: Consume damaged sweet potatoes within a few days.
- Do Not Store: Don’t include them with your long-term storage batch.
- Compost the Unsalvageable: Severely damaged or rotting tubers can be composted.
10. Final Thoughts: Harvest Like a Pro
Harvesting sweet potatoes doesn’t have to be intimidating. With the right timing, tools, and technique, you can enjoy a successful and satisfying yield. Remember, patience pays off. From planting to harvesting, each step in the process contributes to a delicious and healthy harvest.
Whether you’re growing sweet potatoes in a backyard garden, a raised bed, or even containers, the joy of digging up your homegrown, golden-fleshed treasures is unmatched.
So get your hands dirty, keep an eye on the signs of maturity, and enjoy the fruits—well, roots—of your labor!
Leave A Comment