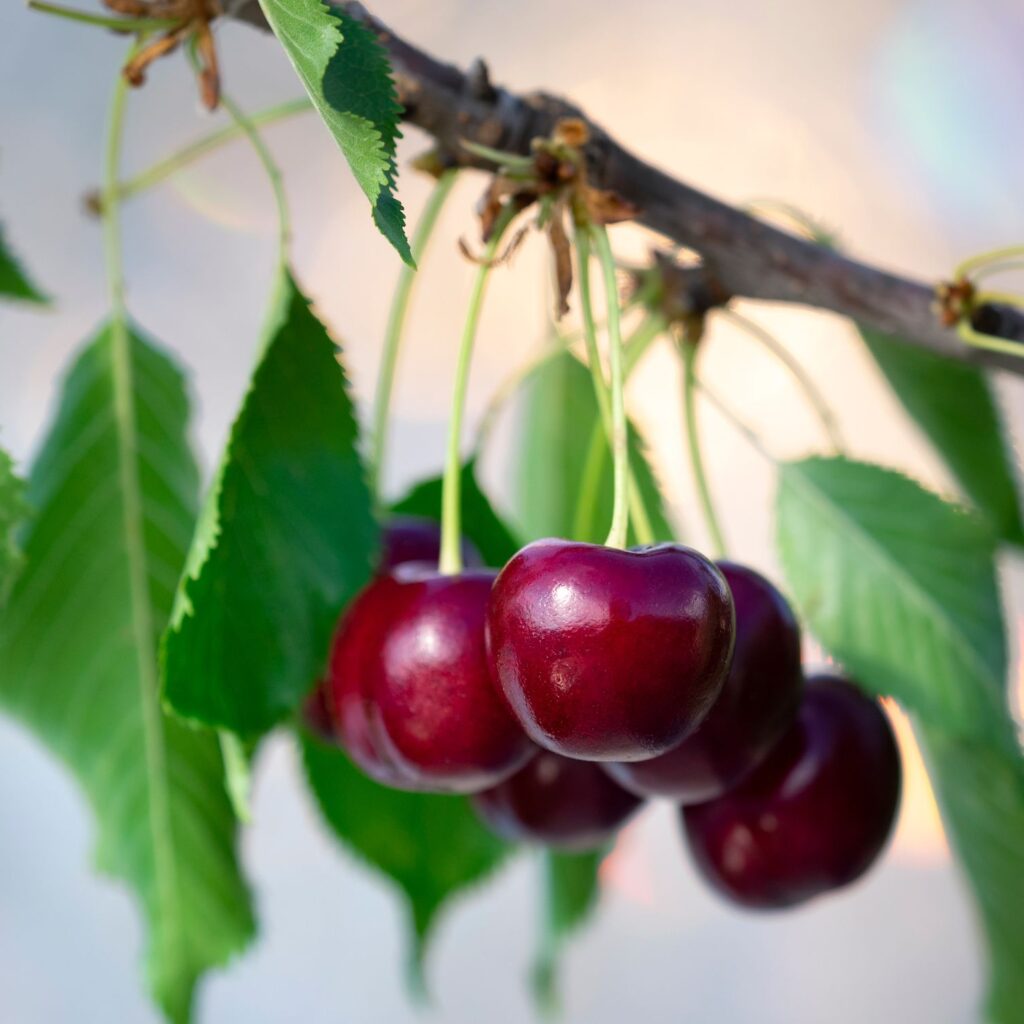
Growing a cherry tree from seed can be a rewarding project, blending patience, horticultural skill, and a love for nature. While cherries are commonly propagated via grafting in commercial orchards, home gardeners can successfully grow cherry trees from pits with the right care and understanding. This DIY guide walks you through every stage—from collecting cherry seeds to nurturing a thriving sapling.
Why Grow a Cherry Tree from Seed?
Growing a cherry tree from seed is not only economical but also deeply satisfying. Watching a tree flourish from something as simple as a pit enhances your appreciation for the plant. Though seed-grown cherry trees may not produce fruit identical to the parent tree, they often develop into beautiful, flowering trees that can enrich any landscape with shade and spring blooms.
Step 1: Choose the Right Cherry Variety

Before starting, select the type of cherry you want to grow:
- Sweet cherries (Prunus avium): Ideal for fresh eating; prefer mild climates.
- Sour cherries (Prunus cerasus): Great for baking and preserves; more cold-tolerant.
Tip: Purchase organic cherries from local farmers’ markets to ensure the seeds are untreated and viable.
Step 2: Extract and Clean the Seeds
After enjoying your cherries, save the pits:
- Remove all fruit flesh: Rinse the pit under water and scrub gently with a toothbrush.
- Soak the pit in water for a few minutes: Discard any that float—they’re unlikely to germinate.
- Dry the cleaned pits: Let them dry on a paper towel for a few days in a cool, dark place.
Step 3: Cold Stratification
Cherry seeds need a period of cold dormancy to germinate. This mimics winter conditions and stimulates growth in spring.
How to Stratify Seeds:

- Wrap each seed in a moist paper towel or sphagnum moss.
- Place in a plastic bag or airtight container.
- Refrigerate at 34–40°F (1–4°C) for 10–12 weeks.
- Check weekly for mold and moisture; replace paper towel if needed.
After 10+ weeks, some seeds may begin to sprout. That’s your sign it’s time to plant!
Step 4: Planting the Germinated Seeds
Once sprouted, plant your cherry seed:
- Potting Mix: Use a well-draining seed-starting mix.
- Pot: Choose a 4–6 inch pot with drainage holes.
- Planting Depth: Sow about 1 inch deep, root down if sprouted.
- Water: Keep soil evenly moist, not soggy.
- Light: Place pot in a sunny window or under grow lights (12–14 hours daily).
Your cherry seedling should emerge in 2–4 weeks if not already sprouted in the fridge.
Step 5: Providing Optimal Growing Conditions
Cherry seedlings are delicate at first but can grow steadily with proper care:
Light:
Place in full sun once the plant matures enough to be outside. Young seedlings indoors still need bright light.
Water:
Keep the soil slightly moist, but avoid overwatering. Water when the top inch feels dry.
Temperature:
Cherry trees prefer temperate conditions. Indoors, maintain 65–75°F (18–24°C) for seedlings.

Fertilizer:
After 6–8 weeks of growth, use a diluted balanced liquid fertilizer every 2–4 weeks.
Step 6: Transplanting to the Garden
After 6–12 months, when your seedling is 8–12 inches tall and strong enough, it’s time to move it outdoors.
Best Time to Transplant:
Late spring or early fall, depending on your climate.
Site Selection:
- Sun: Full sun (at least 6–8 hours daily)
- Soil: Well-drained, loamy soil with pH 6.0–7.5
- Spacing: At least 20–30 feet from other trees or buildings
How to Transplant:
- Dig a hole twice as wide and deep as the root ball.
- Gently remove the plant from its container and loosen the roots.
- Place the seedling in the hole, ensuring it’s planted at the same depth.
- Backfill with soil, water thoroughly, and mulch around the base to retain moisture.
Step 7: Long-Term Care & Maintenance
Watering Schedule:
Water deeply once a week during the growing season. Young trees may need more frequent watering in dry weather.
Pruning:
Start pruning in the second year to shape the canopy and remove any dead or crossing branches.
Fertilizing:
Apply a slow-release fertilizer in spring each year to support healthy growth and potential fruiting.
Protection:
Use fencing or netting to protect young trees from deer and rodents.
Will My Cherry Tree Bear Fruit?
Patience is key. Seed-grown cherry trees may take 5–10 years to bear fruit—and there’s no guarantee it will taste like the parent fruit due to genetic variability.
How to Improve Fruiting Potential:
- Grow at least two trees for cross-pollination.
- Choose open-pollinated or heirloom varieties.
- Prune and feed regularly.
Even if the fruit is not ideal, the tree itself can provide shade, ornamental beauty, and food for wildlife.
Common Problems and Solutions
| Issue | Cause | Solution |
|---|---|---|
| No germination | Poor stratification or old seed | Ensure proper cold stratification and use fresh seeds |
| Yellowing leaves | Overwatering or poor drainage | Water only when topsoil dries; improve drainage |
| Pest damage | Aphids, caterpillars, birds | Use neem oil spray, floating row covers, or natural predators |
| Poor growth | Nutrient deficiency | Fertilize during growing season with balanced nutrients |
Conclusion
Growing a cherry tree from seed is a delightful way to connect with nature and practice patience and care. While it may take years to reach maturity and bear fruit, the process provides valuable lessons in gardening and self-sufficiency. By following the detailed steps—from choosing the right seeds and stratifying them, to nurturing seedlings and caring for mature trees—you can enjoy the magic of raising your very own cherry tree.
Leave A Comment